Planning a once in a lifetime Northern Territory road trip, and don’t know where to start? From Alice Springs to Uluru I’ll cover all the best places to visit that will hopefully leave you with the same awe and inspiration that left us completely in love with Northern Territory. In addition, this 7-day road trip itinerary will cover where to go, what to do, the route we took, budget, campsites and things we would do differently! In the end, this trip was like anything else we have done in Australia and left us with so many incredible memories. Read on to replicate our fun and easy 7-day itinerary.
***This post contains affiliate links. When you book or make a purchase after clicking on these links, we earn a small commission at no extra cost to you, which helps keep our blog running free of charge.
Why do a Road Trip around the Red Centre in Northern Territory?
On this unique trip, you’ll discover the true Australian outback on one of the most iconic road trips in the Northern Territory. The Red Centre is known to be the heart and soul of Australia. It’s literally located in the centre of the country, and it is inhabited by Australian first people, the Aboriginals. But more than that, it embodies what Australia is really about: friendly people, beautiful natural landscapes, unique wildlife, and rich culture.
Since my first trip to Australia, 10 years ago, I have dreamed of visiting Uluru and the Red Centre. Unfortunately, I hadn’t saved time or money for this destination, and as a Canadian, I was terrified to dive on the left-hand side of the road, so I put it at the top of my list for when I returned. Now, 10 years later, I returned to Australia to live in Byron Bay, and I was determined to finally do the Northern Territory road trip I dreamed of – Alice Springs to Uluru. And after years of building up expectations of what this trip might be like, I have to say that it far exceeded everything I dreamed it to be!
This is why I am so excited to share our week-long road trip itinerary around the Red Centre of Australia. This itinerary is one of my longest blog posts yet, but it’s packed full of helpful tips and information! So pour yourself a cup of coffee or glass of wine, and settle in. Or use the table of contents to help you navigate to the specific information you are looking for.
Tip: This Alice Springs to Uluru road trip itinerary is intended for people planning to travel via campervan; however, anyone can use it.
Alice Springs to Uluru – Things to Know Before You Go:
When to Go to Alice Spring to Uluru
We travelled from Alice Springs to Uluru from mid-September to October 2020, and had incredible weather! Spring wasn’t too hot and humid and the flies weren’t bad compared to other seasons. I did find the mornings and nights cool, which was great for sleeping, but remember to pack layers to keep you warm! Overall, I highly recommend visiting at this time of the year.
Uluru Climb
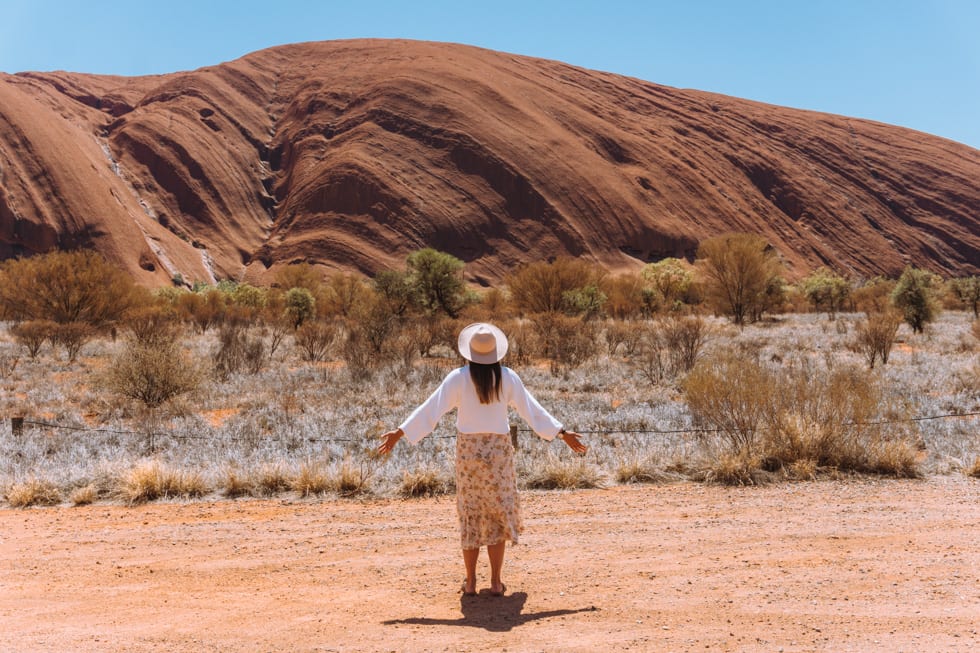
As of October 2019, you can no longer climb Uluru due to it being dangerous and culturally insensitive. This didn’t ruin our trip at all, and we still left having a fantastic experience.
Buy Alcohol in Alice Springs NOT Uluru
Yulara is the small remote aboriginal town where Uluru is located, and it’s a completely dry community. This means you cannot buy alcohol outside the one restaurant-bar at the resort. Because of this, I highly recommend flying into Alice Springs. In Alice Springs you can stock up on food and alcohol before driving to Uluru.
- There’s an IGA at the Ayres Rock Resort, but the food there is more expensive and extremely limited.
- We didn’t come across any other stores in Kings Canyon or West MacDonnell Ranges. So pack enough food for 7 days if you don’t plan to drive back through Alice Springs.
Campervan Pick-up for your Northern Territory Road Trip
In addition, you cannot rent campervans from Ayres Rock Airport. In order to do a campervan style trip, fly into Alice Springs, where most of the campervan companies are located.

Safety in Alice Springs to Uluru
Be careful around Alice Springs and the rest of Nothern Territory on your road trip, especially after dark. Don’t walk around alone, hide any valuables you have in your car, and lock your vehicle. I never felt unsafe, but we were given a lot of warnings. Also, someone at our Uluru campsite had all their alcohol stolen from their cooler. So be safe, lock up, or bring any valuables into your campervan to avoid any issues.
How Long Do You Need at Uluru
Since Uluru was the destination we most wanted to see in NT, we prioritized 3 days there. I could’ve easily stayed for 5 days, but if you are short on time, 3 days is plenty to see everything. With 3 days you’ll have time to do the main hikes, see multiple sunrises/sunsets and learn about aboriginal art & culture.
If You’re Short on Time
If you only have a few days, do not try to see everything in this entire itinerary. It won’t be enjoyable and you will spend most of your time driving and feeling stressed. Instead, choose one area that interests you, and stick to seeing that in depth. You can always come back to the Red Centre and see these other areas when you have more time.
Hiring a Campervan for a Northern Territory Road Trip
From Sydney airport, we flew right into Alice Springs in the morning, and then we took an Uber to pick up our campervan from Apollo, located downtown. Overall, we were really happy with the campervan, customer care, and overall experience.
Campervan Price: $1,102 for 18 days = Around $430 for 1 week. *Of course, the longer you rent it, the more of a discount you get.
Savings Tip: We told them we had RAA (a roadside insurance provider), and they deducted 10%. They won’t offer you this discount upfront, so you have to ask. Also, they never asked for our RAA number, so technically you could say you have this, just to get the discount.
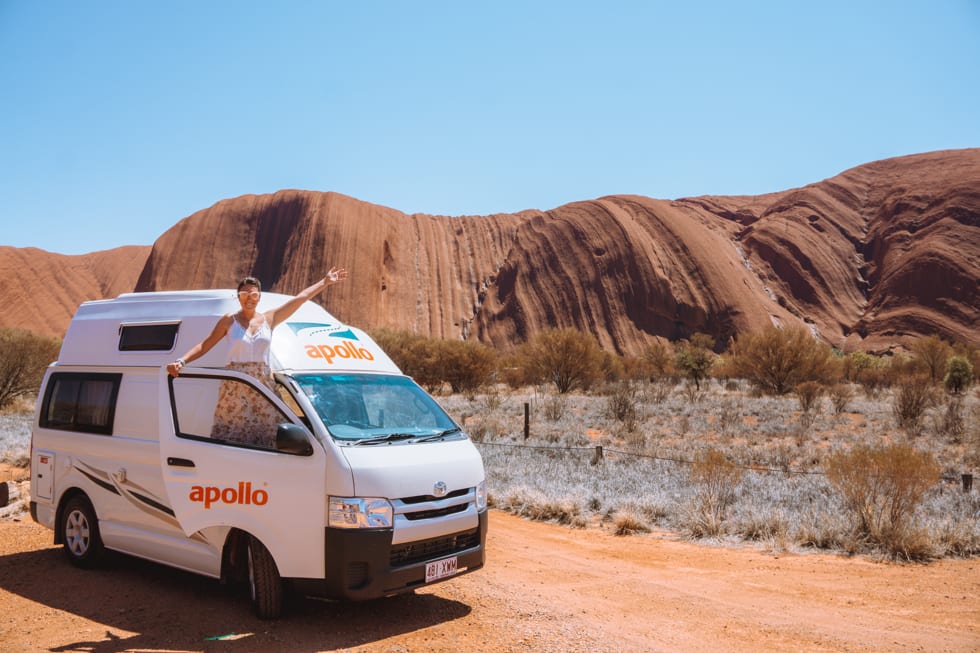
Ben and I had ALL the feels about travelling with a campervan. Since it was our first time ever travelling this way we were both super excited, curious, and nervous! I had never camped longer than 3 nights before, and we were about to camp for 14 days in this campervan (we also drove to the top end of Australia, after this leg of our tip). Overall we loved it so much that booked another similar campervan for an NSW road trip! But more on this later, maybe in another blog post…
Northern Territory Road Trip – Booking Campsites
- Download the free app ‘Campermate’: We used the Campermate app to search and read reviews on campsites. It’s free to use and super helpful to find campsites that meet your standards and pricepoint.
- Book Ayres Rock Resort in advance: Ayres Rock Resort is the only place you can safely camp near Uluru with amenities. Because of this, they sell out, so I strongly recommend booking this ahead of time. Otherwise, we booked all of our other campsites on the day of arrival, or we just showed up.
- National Park Campsites: The West Macdonnell Ranges National Park campsites are all first-come, first-serve. This means you cannot reserve a spot in advance. They are extremely affordable, costing around $6.60 per person, per night. They have to be paid in cash, using the envelopes left at the campsite entrance. Normally no one checks on this, so your payment is based on the honour system. These campsites were busy in the spring, had toilets, showers, picnic benches and free BBQs, but there are no electrical plug-ins for campervans.
Driving from Alice Springs to Uluru
Day 1: Exploring Alice Springs
At a Glance:
- The Goods Coffee Shop & The Bakery
- NT Megafauna Central Archaeological Museum & aboriginal art galleries
- Shop for your road trip: Buy all food and booze for 7 days
- Monte’s Lounge & Epilogue Lounge & Rooftop Bar
Stay at Alice Springs Campsite
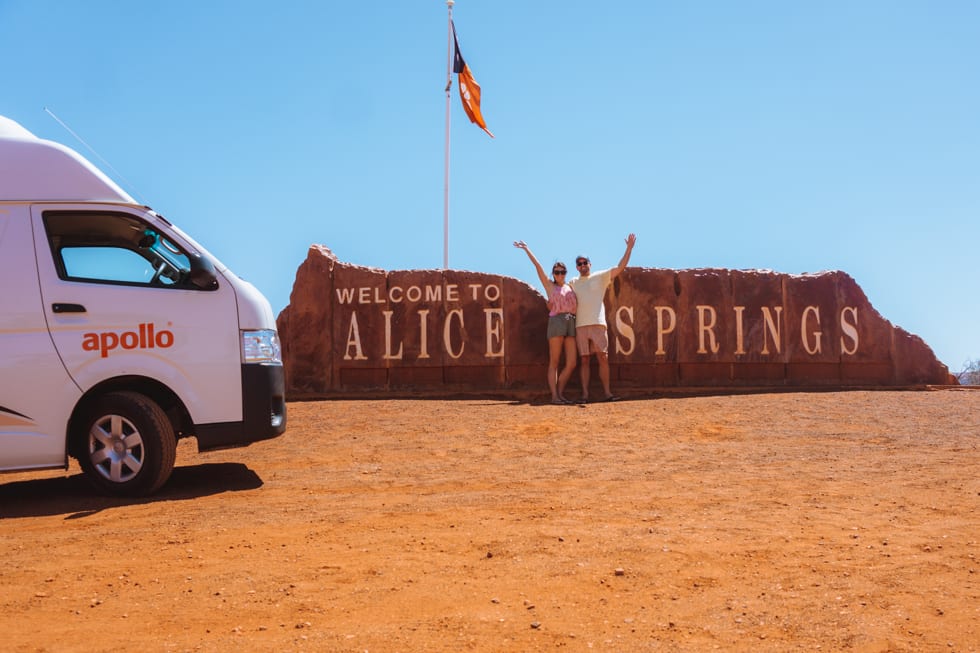
We stayed at the Temple Bar Campsite, which is a bit out of town but had lovely mountain views (especially at sunset & sunrise). Price was around $20 with electricity, hot showers and clean toilets. No BBQ or kitchen area.
The Day in Detail:
After we had our wheels we drove straight into town to fill our bellies with some food. The Goods Coffee Shop on Todd Street is definitely the hippest spot in town to grab a delicious flat white. After, walk a few stores down to ‘The Bakery’ and enjoy some freshly baked goodies. Don’t be scared off if there’s a line-up out the door, this bakery is worth the wait. Ben grabbed one of the best beef pies I’ve ever tasted in Australia (big call, I know), and I had a delicious cheese and ham croissant. Plus we grabbed 6 Portuguese egg tarts, that were incredible – I highly recommend picking some up for your trip.
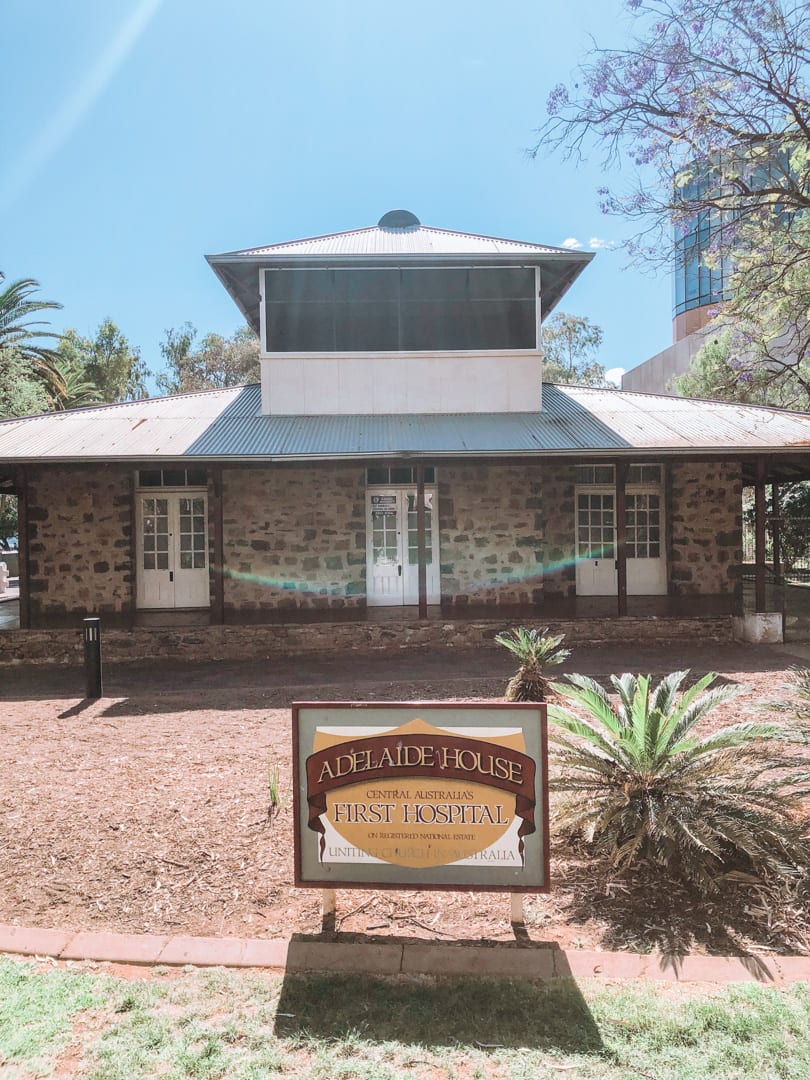
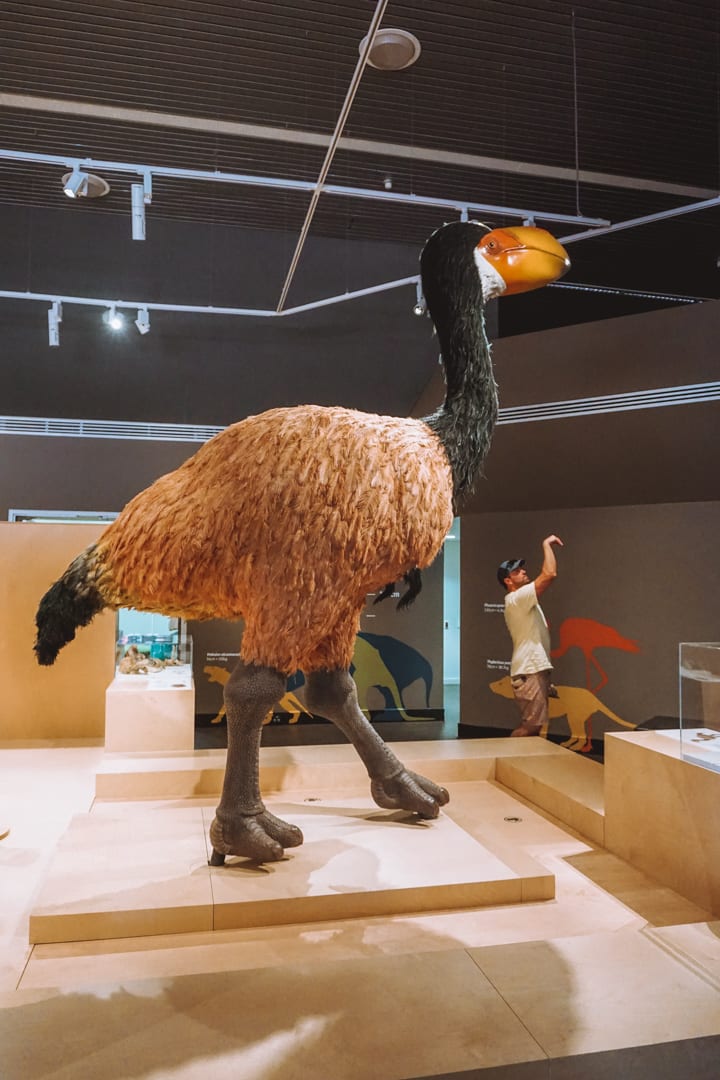
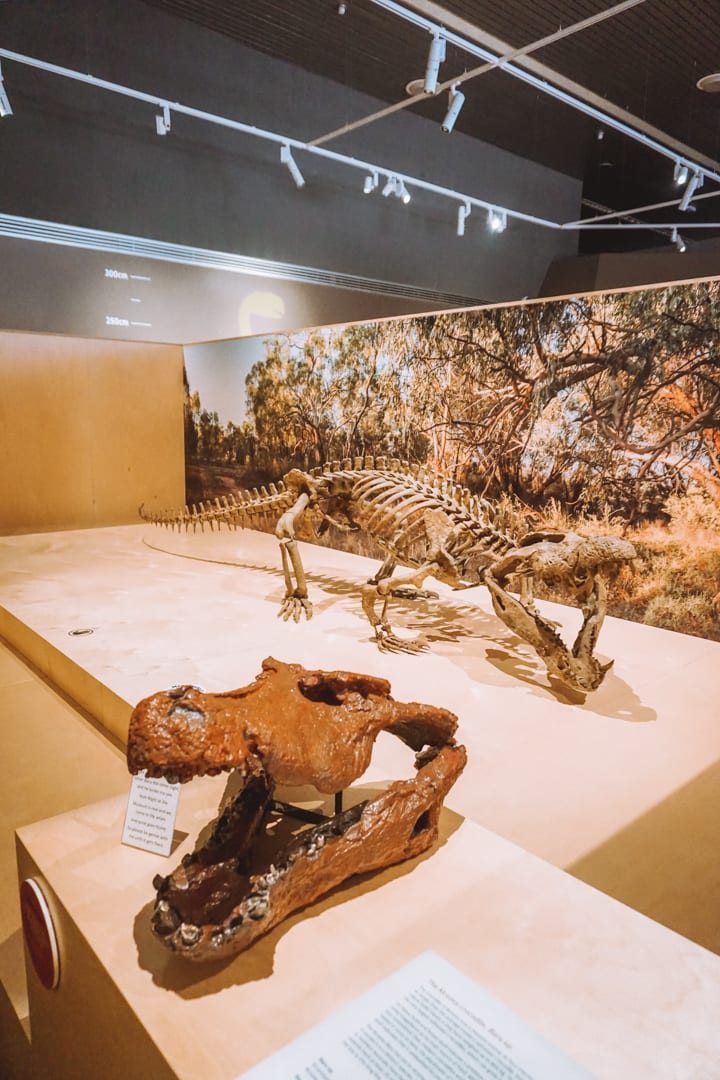
Located beside The Bakery, we quickly stopped into the NT Megafauna Central Archaeological Museum. This museum showcases the unique animals that roamed Central Australia 8 million years ago. Although it’s a small museum, I found the fossils and stories absolutely fascinating. The best part – it’s free entry! Later, walk around town to see the Adelaide House Museum, street art, and pop into aboriginal art galleries in town!
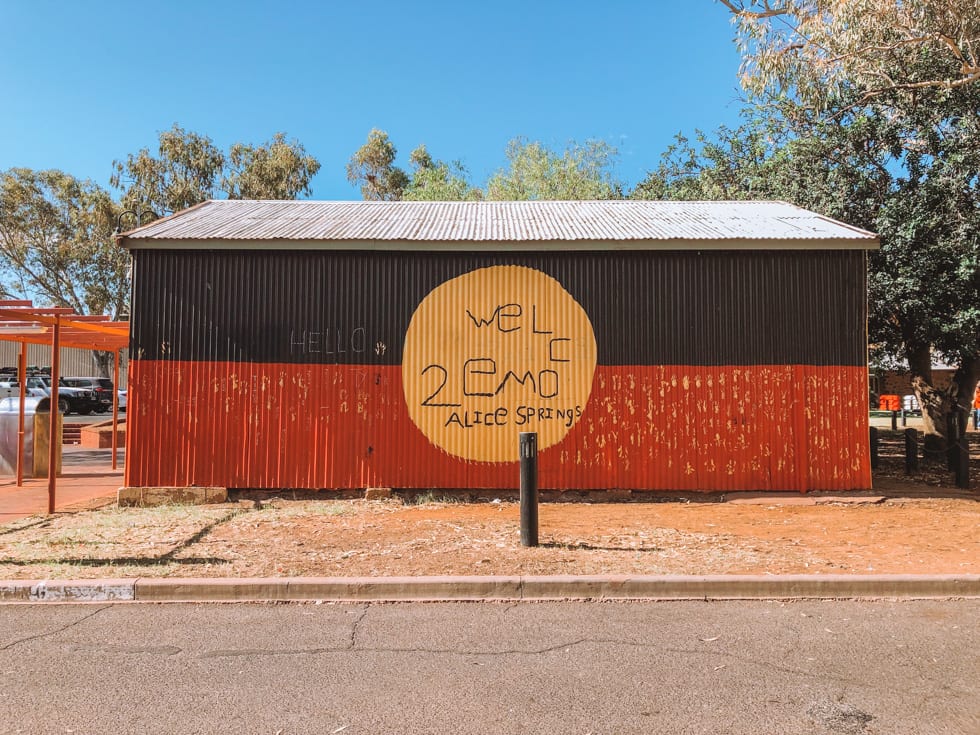
After, we poked our heads into the visitor centre to grab some free maps and get tour information for the area. The staff here were great at updating us on current road conditions, special events, and tour closures due to COVID. The Visitor Centre is a great free resource you should utilize and could save you a headache or disappointment on your Northern Territory road trip.
We then spent some time shopping. As I mentioned before, Alice Springs is the best place to buy all your food, alcohol, and any other supplies for your Northern Territory road trip. There is an IGA in Ayres Rock Resort, but they were sold out of a lot of items when we were there, and there are NO liquor stores anywhere else, so grab everything you need!
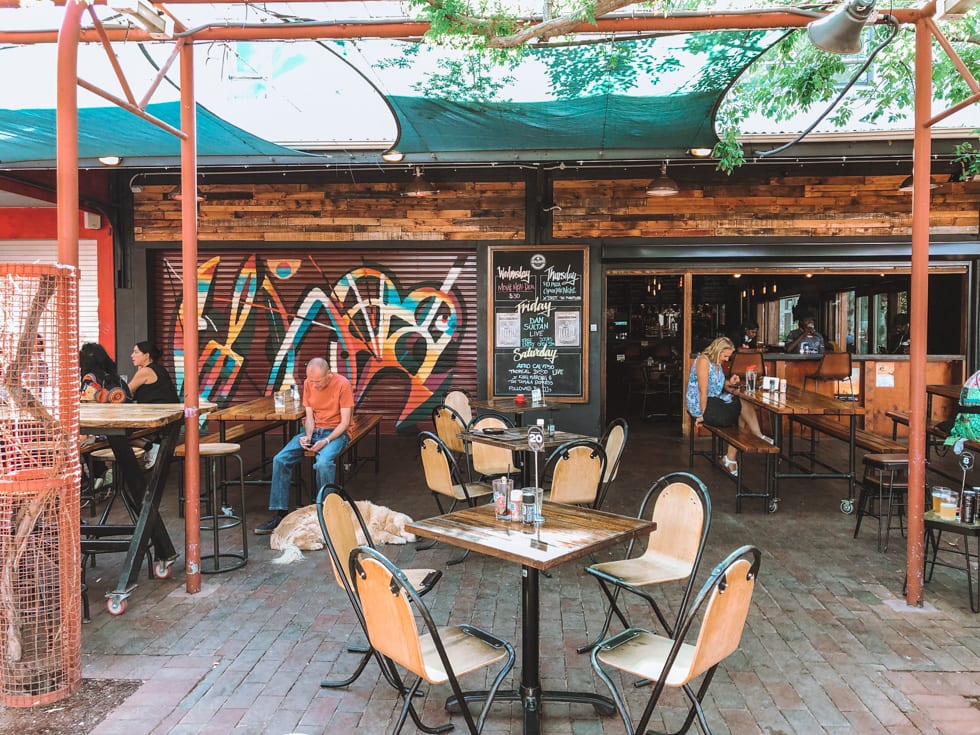
That evening we stumbled upon Monte’s Lounge, a quirky outdoor beer garden, that was packed full of locals and young travellers. The drinks were cold and food pub-style food was delicious! I would definitely recommend it, as it had a great vibe!
Since it was Friday night, we decided to stop by the Alice Springs Brewing Co for a tasting. Inconveniently, this brewery is located a bit out of town. The beers were good, but the vibe and experience were meh, and the staff were NOT at all helpful in explaining the beers. To be honest, I’d skip it, and go to Epilogue Lounge & Rooftop Bar instead.
Some Other Great Things to Do in Alice Springs
- See Alice Springs from above on a Hot Air Balloon Ride
- Hold baby joeys at the Kangaroo Sanctuary
- Alice Springs Desert Park
- One of the best-organized tours from Alice Springs is the Palm Valley 4WD Outback Safari and Picnic. This is a tough place to get to without a 4×4, so if you want to see it, hop on this tour!
Day 2: Drive from Alice Springs to Uluru (5 hours)
At a Glance:
- Drive from Alice Springs to Uluru
- Stop at the Mount Conner Lookout
- Check into Ayres Rock Resort
- Drive into the National Park & watch the sunset at the ‘Sunset Viewing Area for buses and Dune Walk viewing area’
Stay at Ayres Rock Resort
We based ourselves at the Ayres Rock Resort, which is located about a 10-minute drive outside of the national park. They have campsites, cabins, and luxurious hotel rooms. We stayed on the campsite which had great facilities, hot showers, laundry, power, BBQs, a pool.
In September, they offered a special online rate, which was ‘buy 3 nights, get one night free’, which I think they are still offering. It ended up being about $50 per night. I recommend booking your spot early since there aren’t any other campsite options around Uluru. The only other option is sleeping on the side of the highway, but that really isn’t safe or recommended for Northern Territory road trips.
Uluru Nation Park Pass
As for the Uluru National Park, they normally charge visitors $25 per person for a 3-5 day park pass. But due to COVID this year, they are giving the park passes away for free to encourage locals to explore this amazing area. You can claim your park pass on arrival, or you can book them ahead, but right now you don’t need to. Also, if you were wondering, you are not allowed to camp in the Uluru National Park.
The Day in Detail:
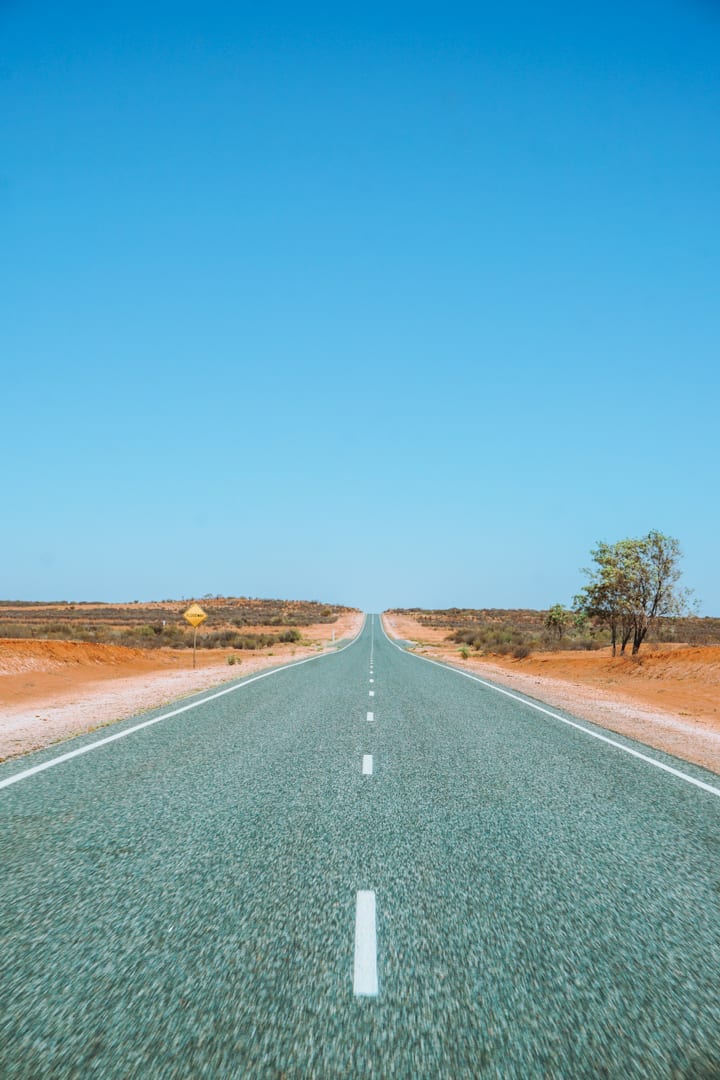
Day two is a big day on the road, as it’s a 5-hour drive from Alice Springs to Uluru. Here is a couple of tips for the long drive.
Tips for the long drive from Alice Springs to Uluru:
- Download Google Maps offline. There isn’t a lot of cell service in the outback, and you don’t want to get stuck without directions.
- Top up your gas at any gas station you pass. I think we only saw two between Alice Springs and Uluru.
- Buy a couple of litres of water to stay hydrated.
- Download audiobooks and music to listen to. Need some recommendations? Check out my post on my favourite audiobooks.
About four hours into the drive, stop at the Mount Conner Lookout to take photos and stretch your legs. Tourists commonly mistake Mount Conner for Uluru, due to its similar shape and size, which is why it’s nicknamed ‘Fool-Uluru’.
Tip: Across the street from the Mount Conner Lookout toilets, there’s a sand dune, and over that, there is a massive salt lake!
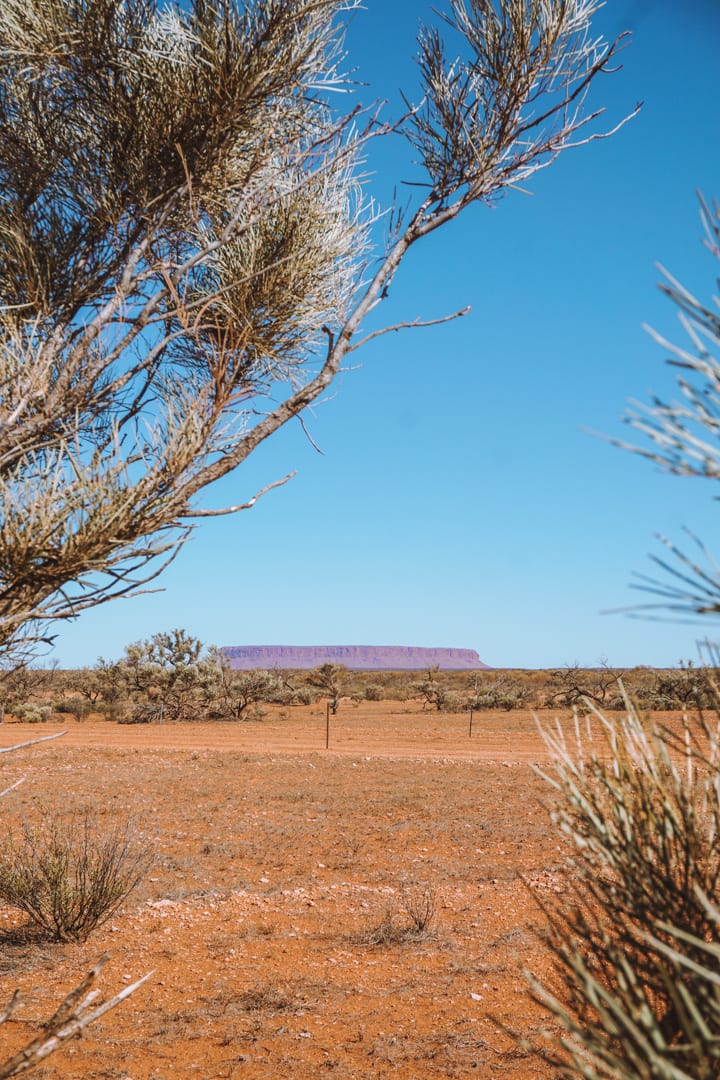
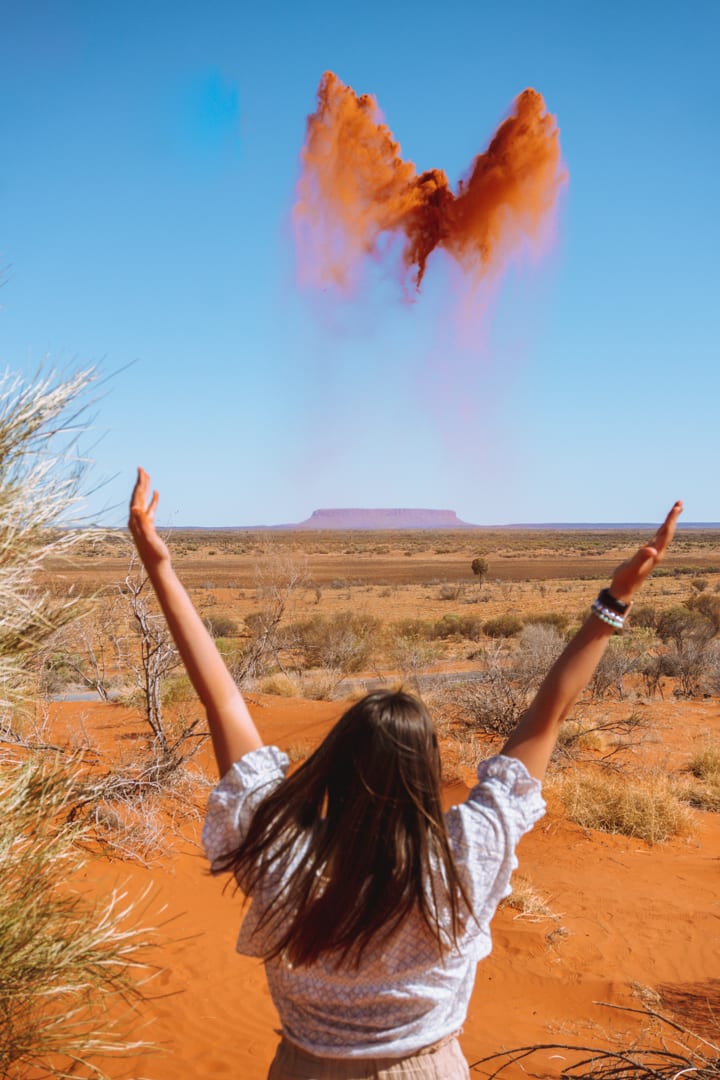
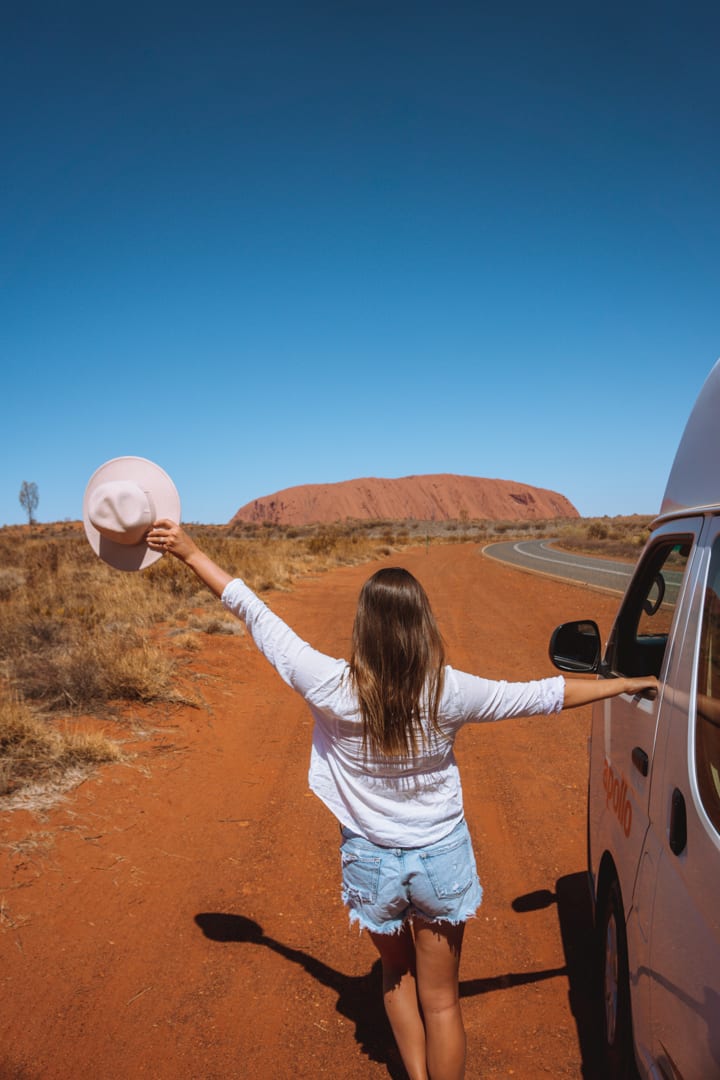
After playing with the outback’s iconic red dirt and sand, we kept driving onto Uluru to check into our campsite. We drove on, and 30-minutes later we could see Uluru in the distance. I’m not kidding when I say that I squealed with excitement the first time I laid my own eyes on it. It’s really is that spectacular!
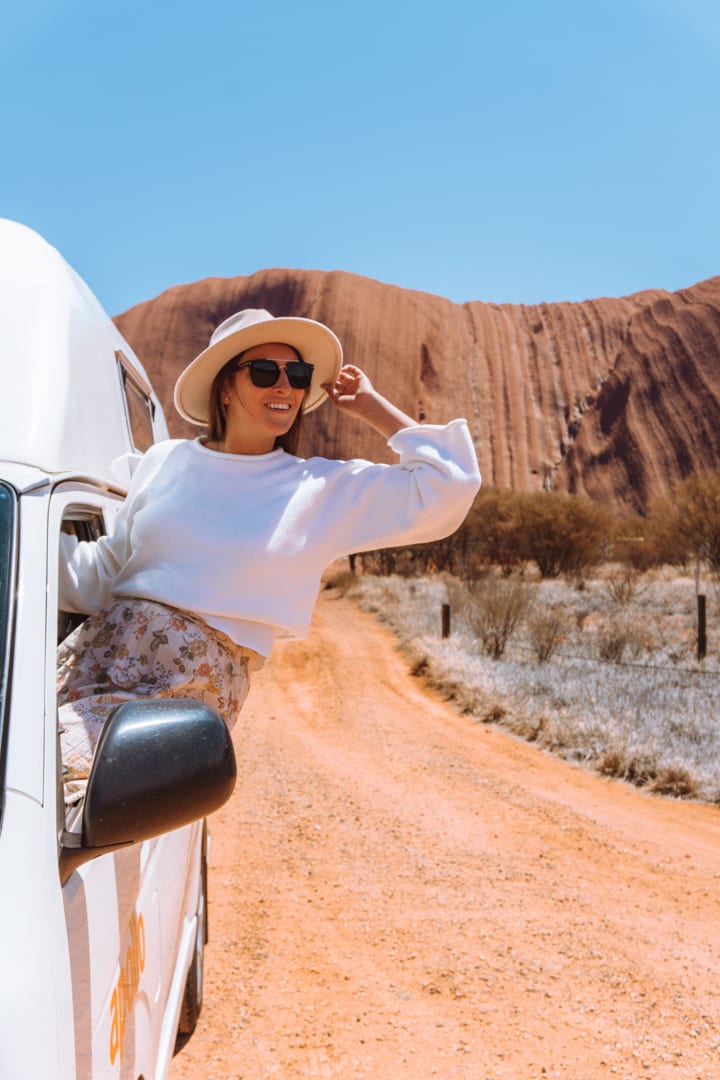
The Best Sunset View at Uluru
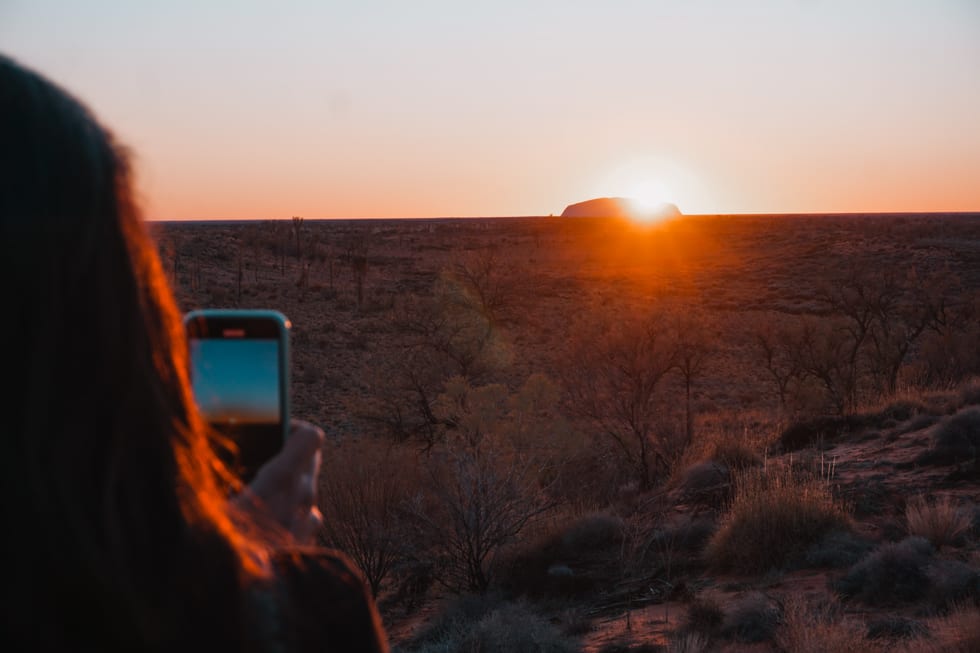
After checking into the campsite, we raced to the National Park to get a closer look at ‘the rock’. For our first night, we went to the ‘Sunset viewing area for buses and dune walk’ and were totally spoilt to have the entire place to ourselves. Due to COVID, there are no big tour groups visiting Uluru these days, so this is a great spot to come watch the sunset.
Also, at the bus lookout, there is a beautiful dune walk. We walked up the dunes with a backpack of cold beers, a cheese platter and our camp chairs, and parked ourselves in one of the lookouts. The best part about this lookout is you have Uluru in front of you and Kata Tjuta behind you. This was easily one of my favourite memories from our trip since it felt like we had the park all to ourselves.
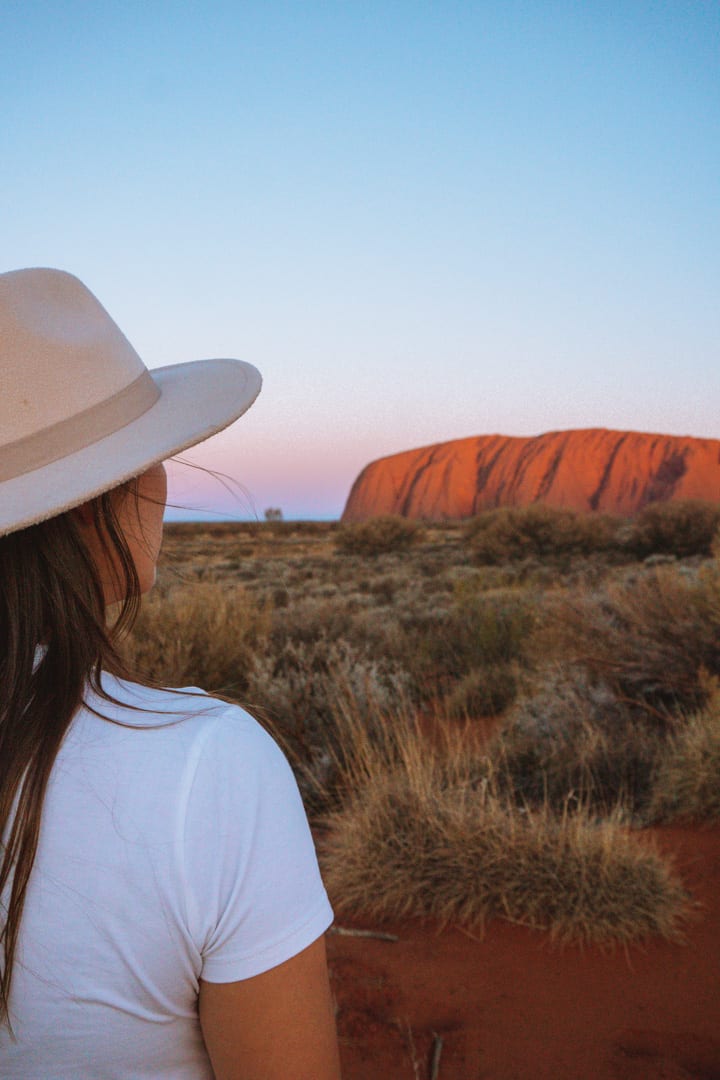
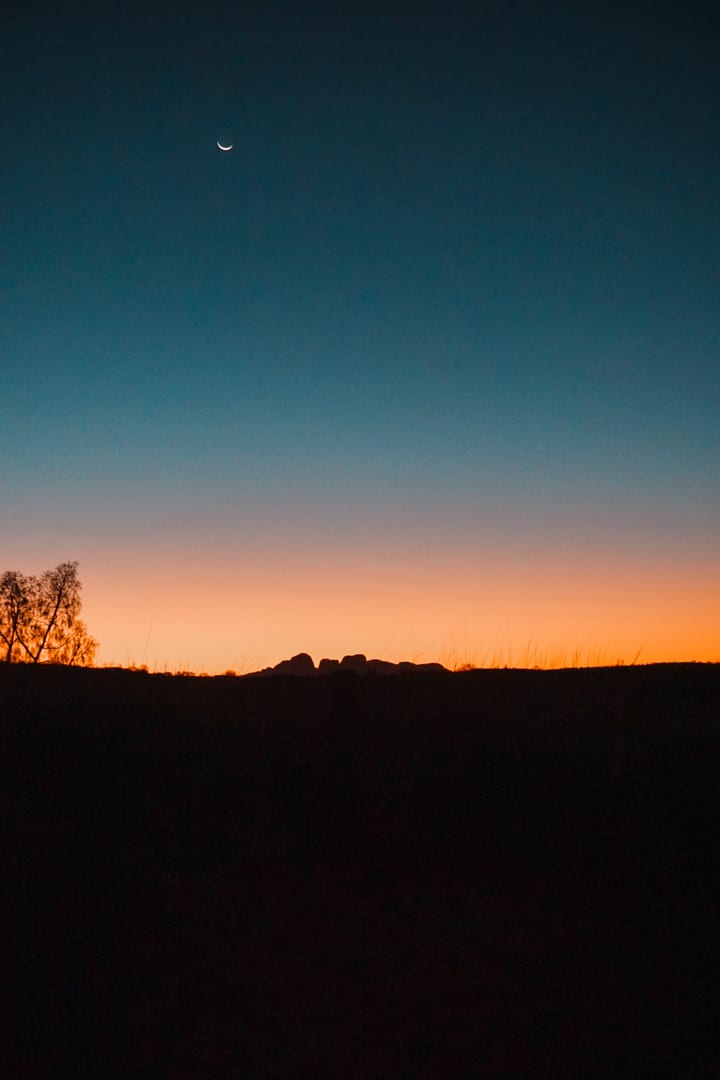
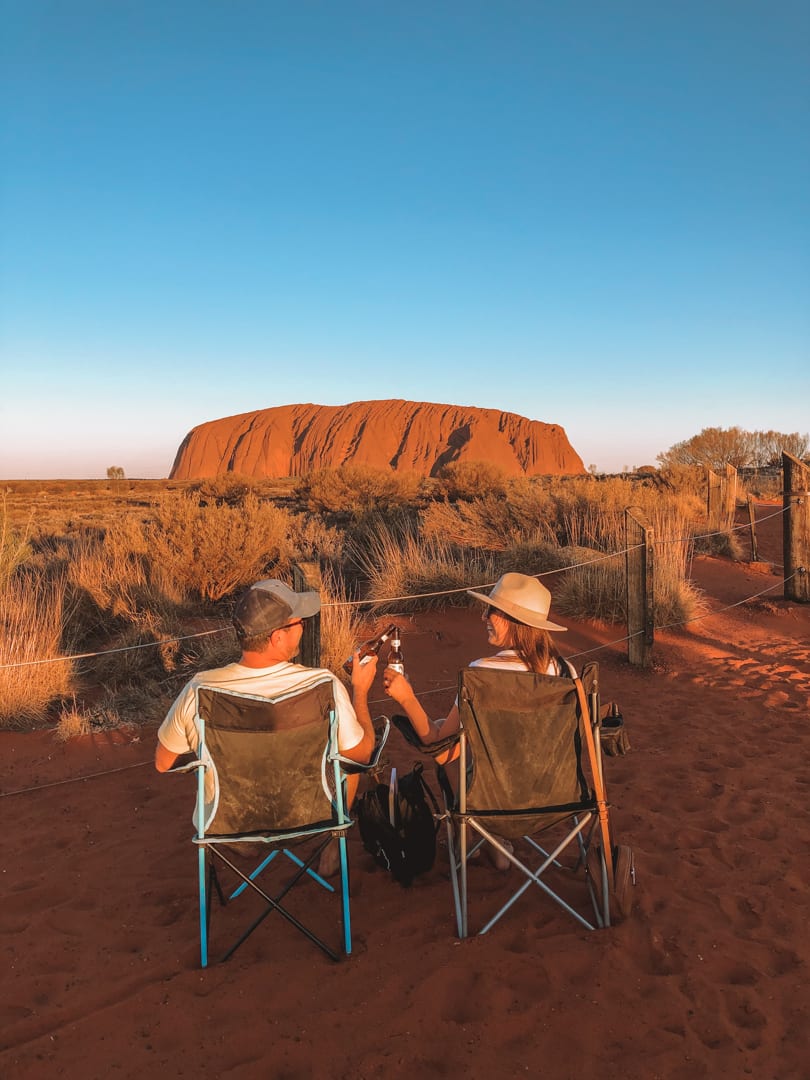
Seeing Uluru change from a rusty brown to bright orange, then to red and lastly purple was sensational. As daylight faded into night, it was as if Mother Nature switched on a billion stars! Seeing such natural beauty in such a peaceful remote place made me oddly emotional. Uluru Kata Tjuta National Park has such spiritual energy to it, and I was finally experiencing it for myself.
Day 3: Uluru Base Walk
At a Glance:
- Sunrise at Uluru sunrise lookout
- Morning base walk around Uluru.
- Or Segway tour
- Pool, shower, head back for sunset at ‘car sunset lookout’ for champagne & cheese board
The Day in Detail:
Sunrise at Uluru
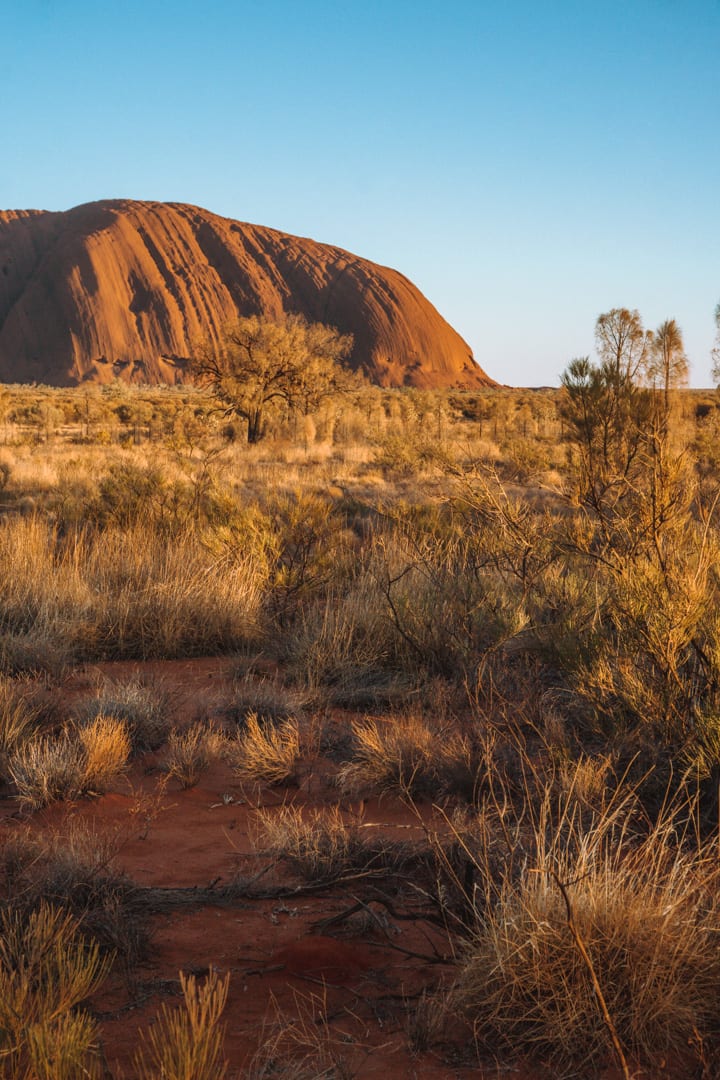
If you’re not a morning person, Uluru-Kata Tjuta National Park will make you one. Witnessing the sunrise and change the colour in the outback is one of the most humbling experiences. And from one non-morning person to another, I promise it’s worth it! In fact, watching the world wake up with the sunrise became a highlight of each day and one of my fondest memories on our Northern Territory road trip. That morning we arrived at the ‘Uluru sunrise platform’ at first light and watched every curve of Uluru transform with sunlight.
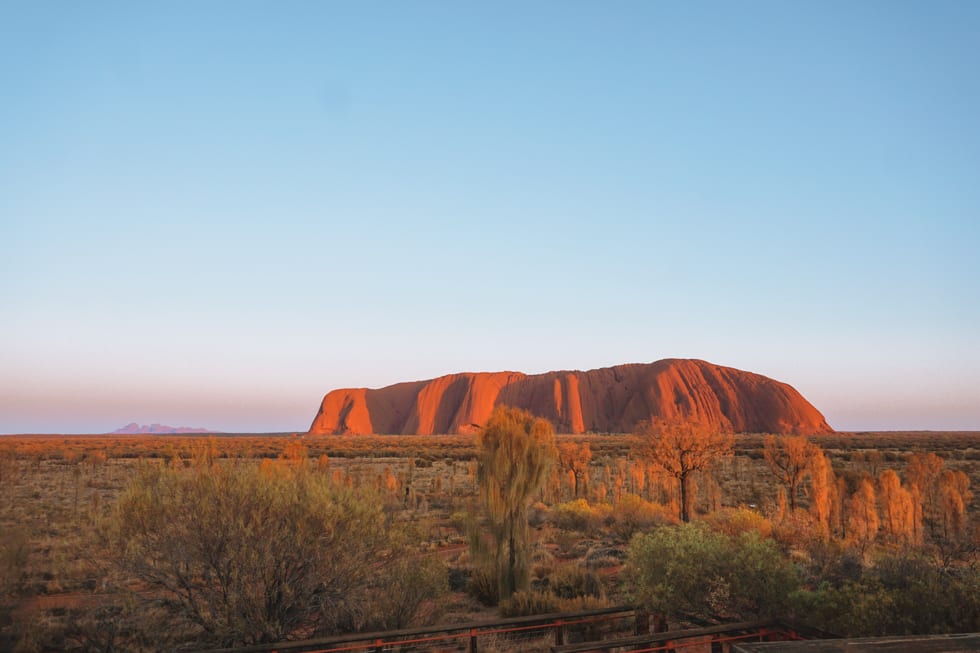
Tip: Venture off the ‘Uluru sunrise lookout platform’. I personally thought the dirt path below the platform was a better vantage point for photos, and there are fewer people around. Tip: pack a thermos of coffee and breakfast to enjoy while you watch for the sun to rise.
Base Walk Around Uluru
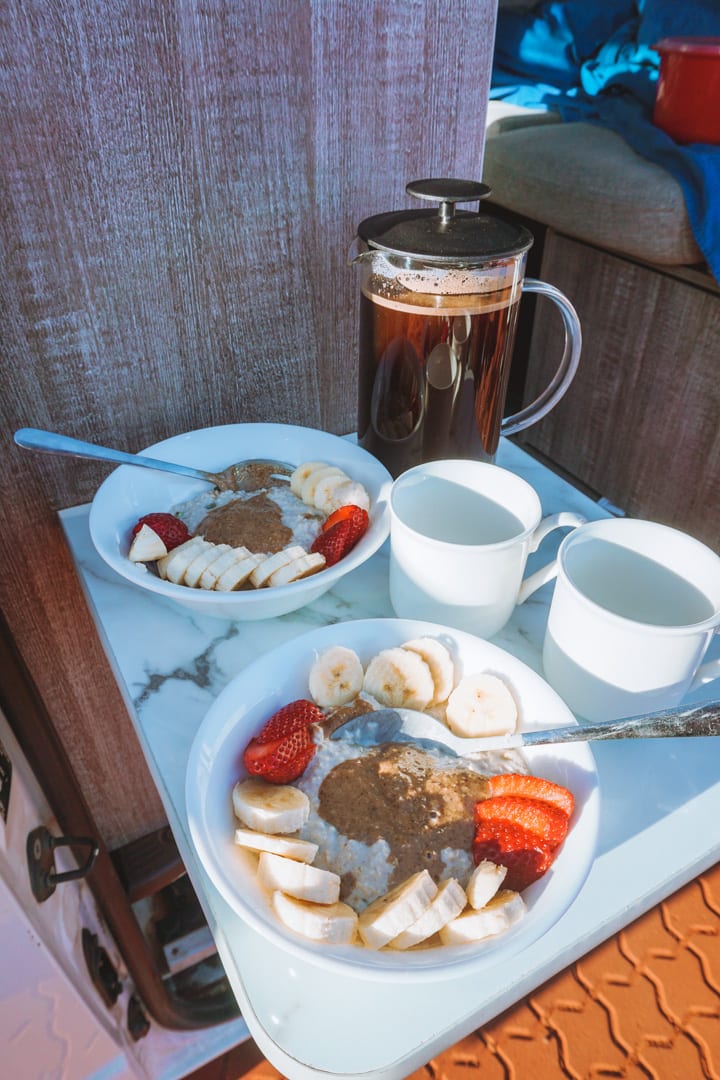
After a quick breakfast & coffee in our van, we got ready for our base walk around Uluru. We wanted to get started as soon as possible, so we could avoid the heat of the day. With this said, be sure to do the base walk in the early morning, not the afternoon! See below for more base walk tips.
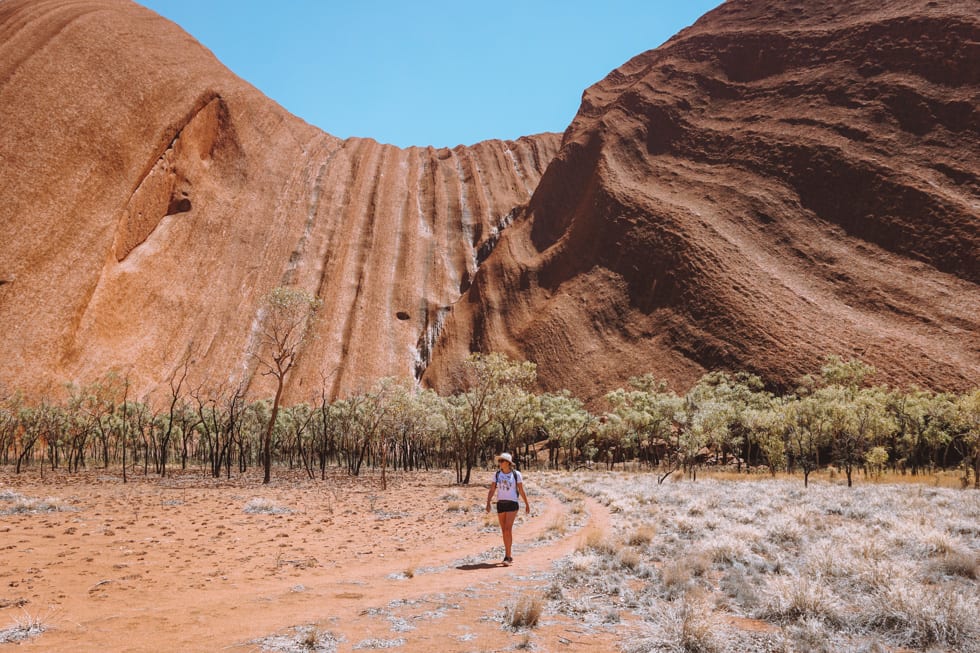
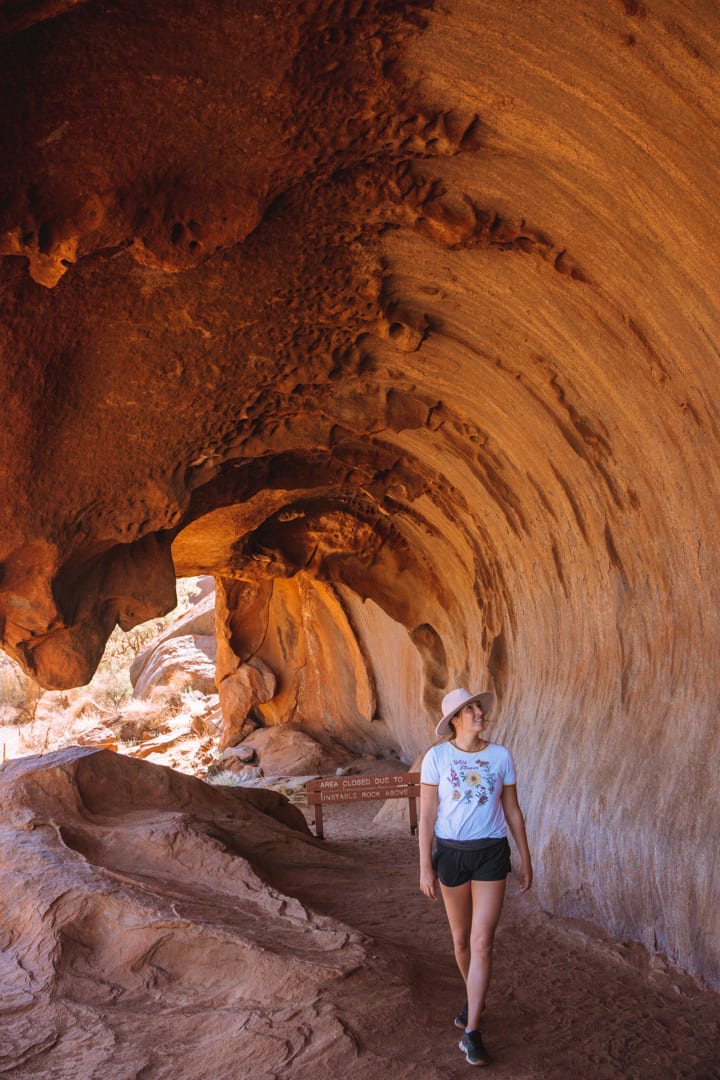
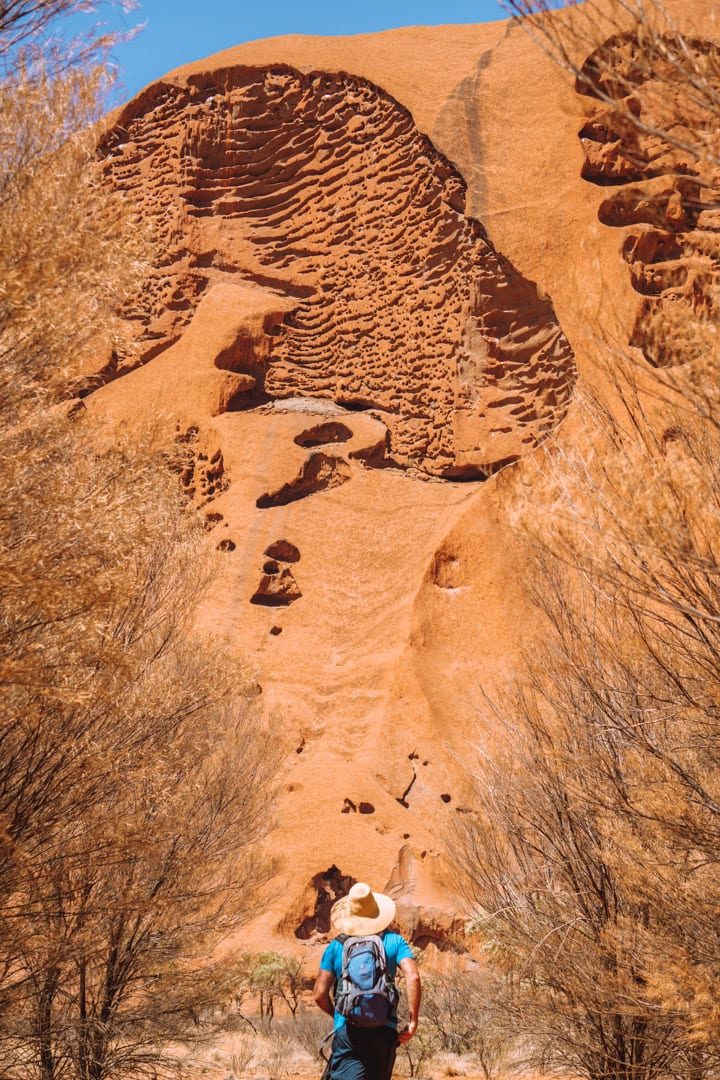
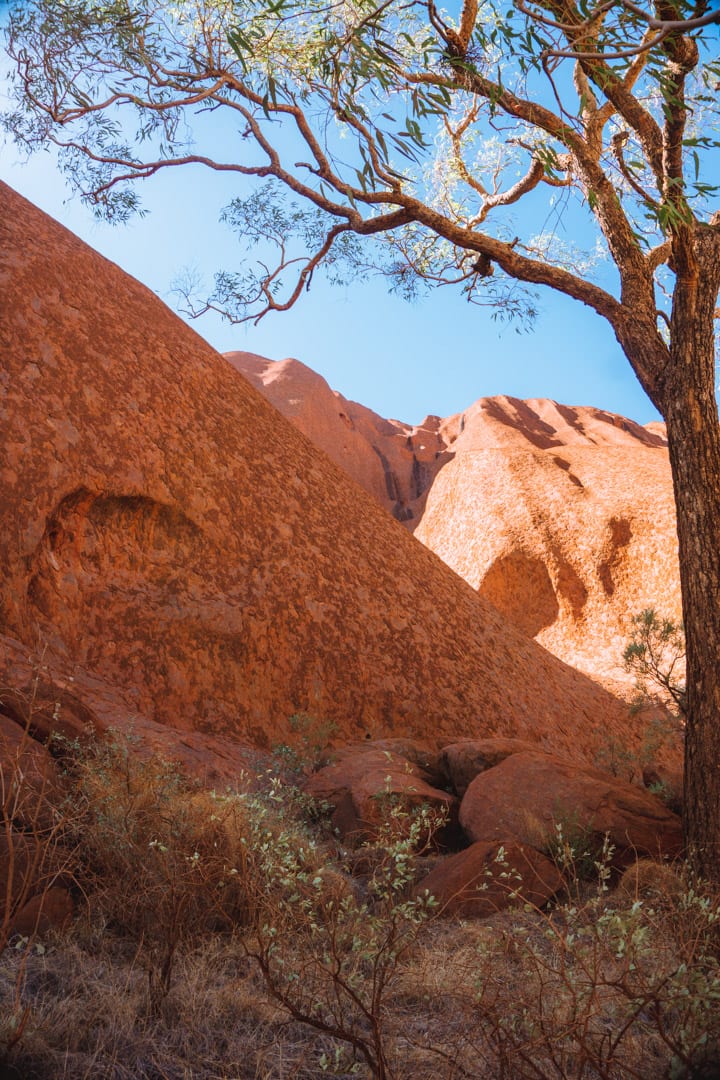
This base walk, or hike around the circumference of Uluru, is 9 KM, which took us about 4 hours. We could’ve done this faster, but we stopped and read all the information signs, took loads of photos, and stopped to reflect and meditate at all the watering holes. I highly recommend you do the same. There is also an option to download the base walk audio guide for $30. You can do this through the visitor centre. But my understanding is the audio guide just reads off what is on the signs that you can read for free.
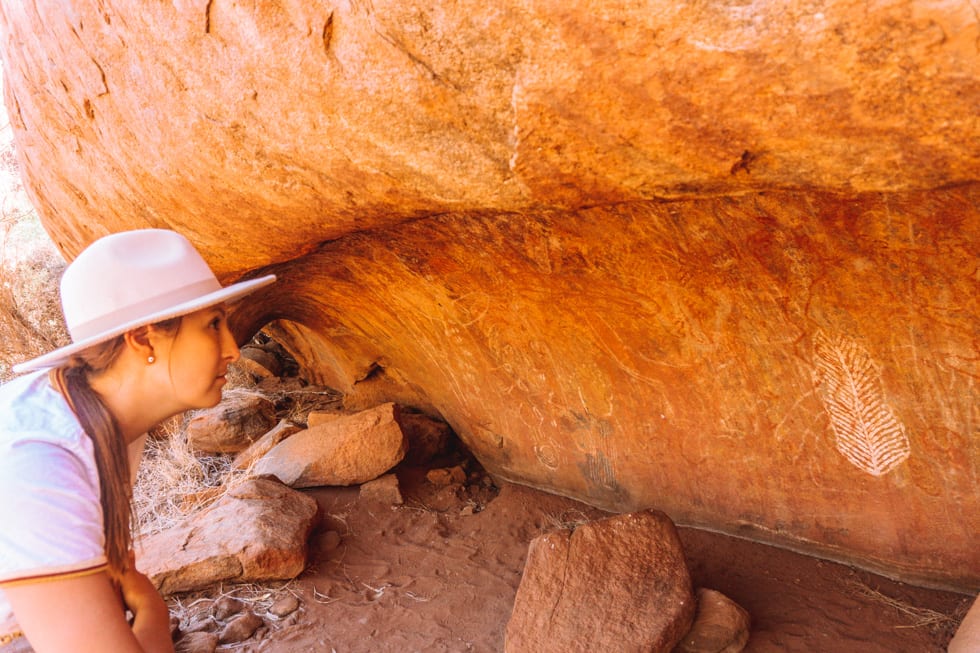
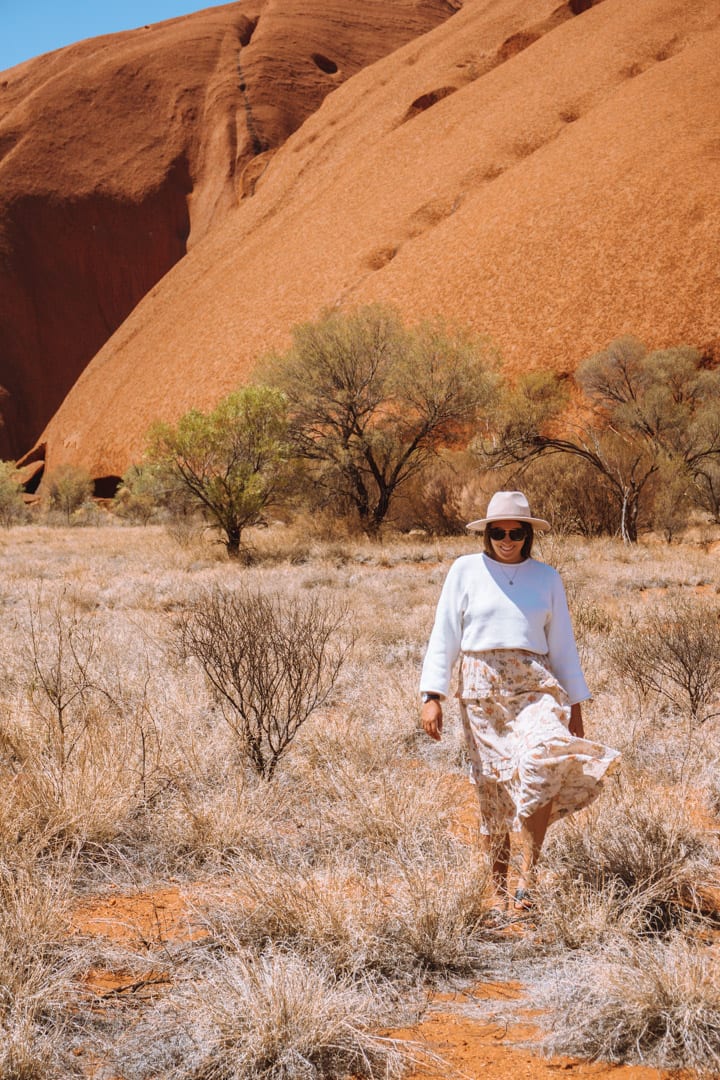
On our Uluru base walk, we saw rock art that was thousands of years old, watering holes that the aboriginals depended on for water and for hunting food, and areas that were used for cooking or ceremonies. It was amazing to learn about various Dreamtime stories Aboriginals used to teach lessons to their young.
Doing the base walk was super eye-opening, and something every visitor should do. Walk right up to the base of Uluru made me realize just how massive this massive rock is. After our base walk, I saw Uluru as a sum of its parts, and not just ‘one big rock’. In other words, you get an understanding of why this place is so special to the Aboriginals and how it sheltered them from the harsh conditions of the outback and kept them alive.
Uluru Base Walk Alternatives
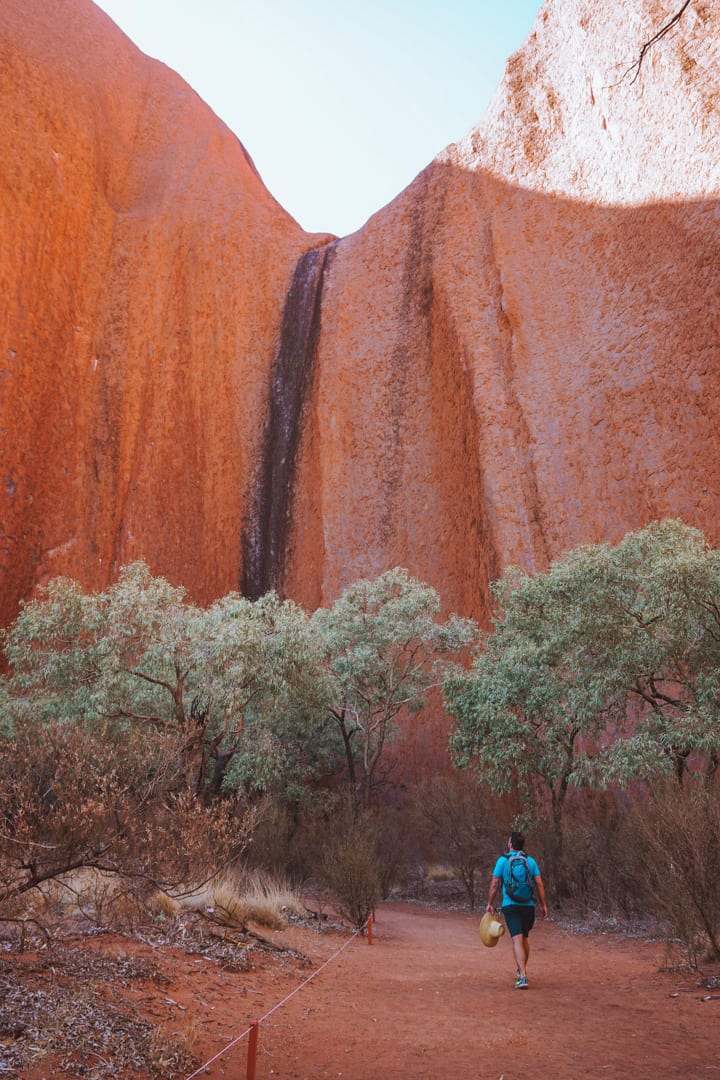
If you would prefer to do the Uluru base walk with a guide, we heard this one is terrific! They pick you up from the resort and provide a picnic and non-alcoholic drinks. Or if the 4-hour walk sounds too challenging, a great alternative is the segway tours with a guide. I’ve heard they are equally informative and takes you around Uluru in about 2 hours.
Quick Tips for your Basewalk:
- Pack lots of water (however, there are 3 refill stations along the hike)
- Pack snacks, food, and your camera
- Wear a hat and lots of sunscreen
- Wear good walking shoes and cool clothes
- We started at the Kuniya Carpark (watering hole) in the early morning, and walked into the shady side of Uluru, around clockwise to the Mala Carpark. If you hike afternoon, there will be no shade and you will be in the sun the entire time. This is another reason why the morning is best.
- Respect the signs that tell you not to photograph certain areas of Uluru.
- Stay on the paths and keep an eye out for wildlife. We almost stepped on this little guy – a Thorny Devil Lizard! He was lying right in the middle of the path and didn’t even move when we approached him. They aren’t dangerous, but they are hard to see, so we were so excited to find one!

Sunset at Viewing Area for Cars
After a big day in the sun, we headed back to our campsite for a quick dip in the pool, a shower and a snack before heading back to the park for sunset. This time we parked at the ‘sunset viewing area for cars’.
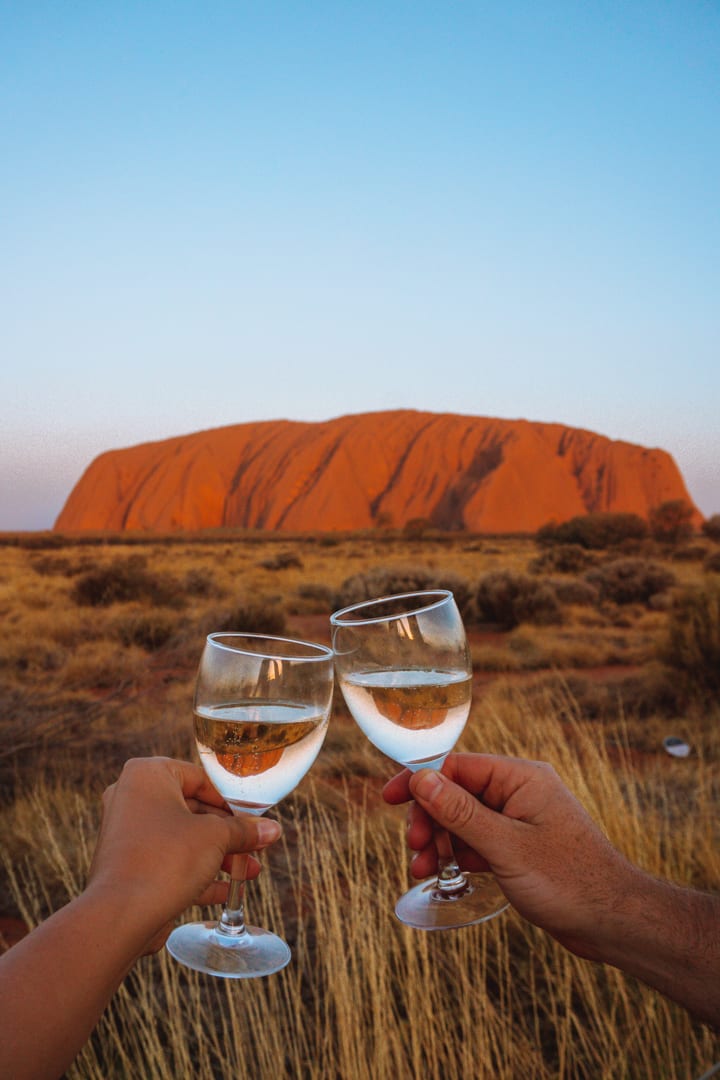
We found the best view to be right at the end of the lot! We enjoyed champagne, a cheeky cheese platter and watched another spectacular sunset. I love how no sunset is the same here.
That night was so clear, we waited until the stars came out and all the cars left. We put on one of our favourite songs, Harvest Moon by Neil Young, and Ben and I danced under the stars. It was so romantic and a moment I’ll never forget. A road trip around Northern Territory might not be regarded as the sexiest trip in Australia, but there’s something seriously romantic about being at Uluru with your partner.
Day 4: Kata Tjuta at Uluru
At a Glance:
- Sunrise at Kata Tjuta (car lookout)
- Valley of the Winds walk at Kata Tjuta ( 2.5 hours)
- Drive back to Uluru and stop by the visitor centre. Or do some of the free lessons at Ayres Rock Resort
- Visit Field of Light: 3 experience options & price points
The Day in Detail:
Sunrise at Kata Tjuta
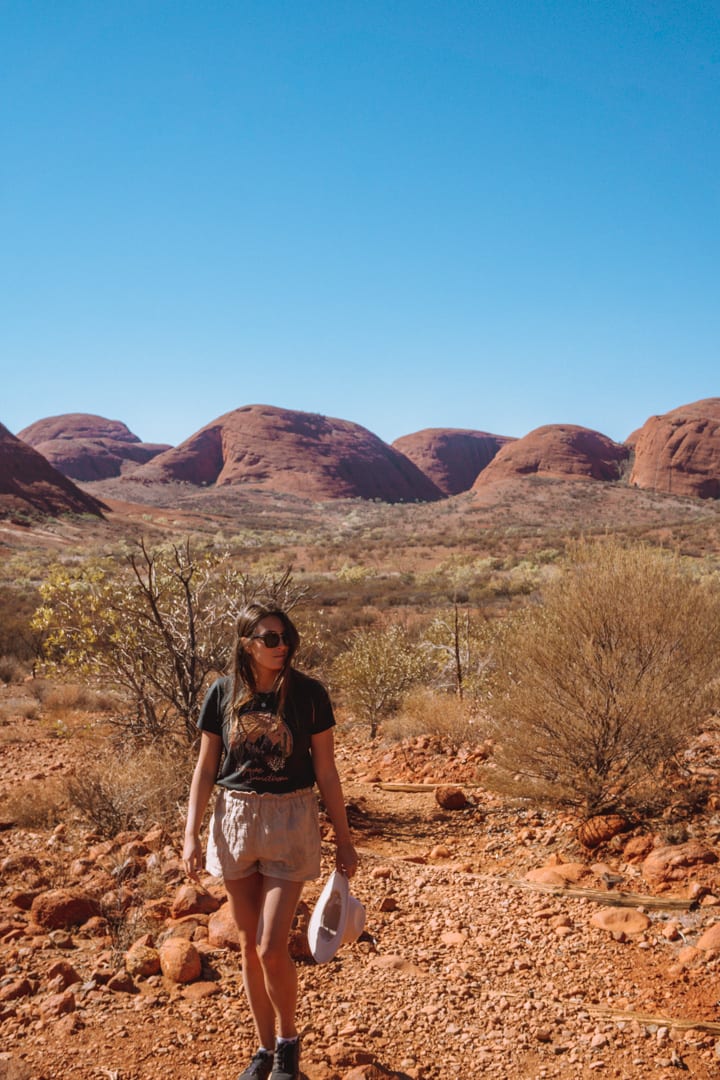
The next morning was another early one, as we wanted to catch the sunrise at Kata Tjuta. Kata Tjuta, also known as the Olgas, is the lesser-known rock formation in the Uluru-Kata Tjuta National Park. Kata Tjuta, meaning, ‘many heads’, is also a sacred site to the aboriginal people and is absolutely worth a visit.
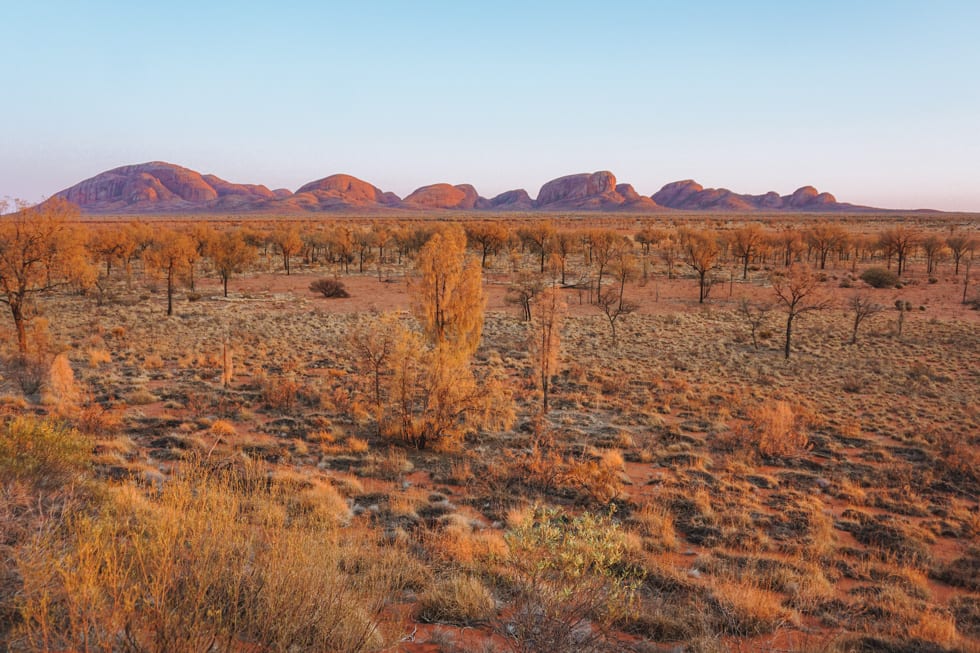
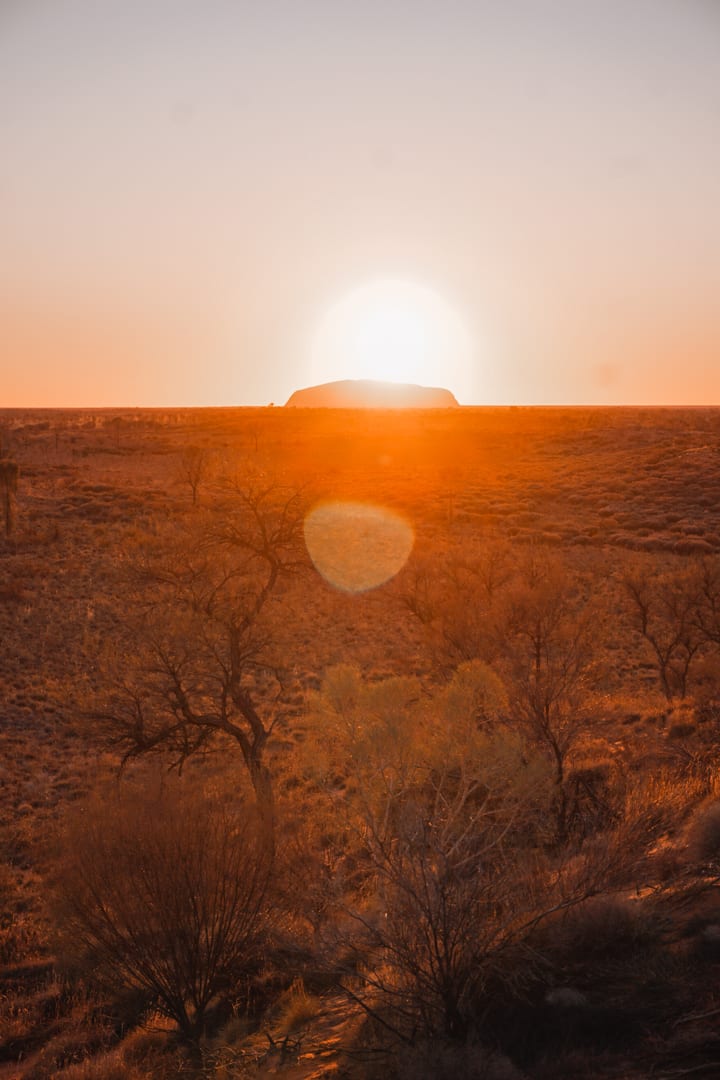
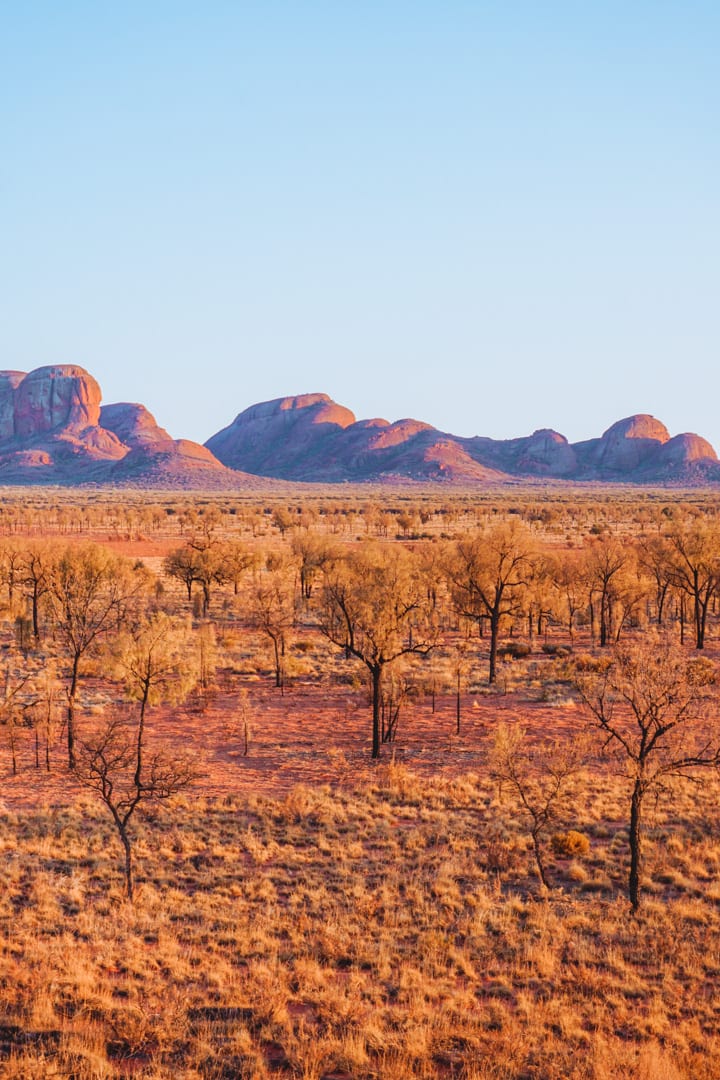
We drove the extra distance to the ‘Kata Tjuta Dune Viewing Sunrise Lookout’, which I highly recommend. It’s a far drive from the base of Kata Tjuta, but it’s the best spot for sunrise. From the parking lot, walk up to the viewing platform. From here, you can see all of Kata Tjuta, and 45 KM away in the distance is Uluru.
The sun actually rises behind Uluru, which makes for a spectacular view (and photos). Seeing the valley and Kata Tjuta flood with gold light was remarkable.
Valley of Winds Hike
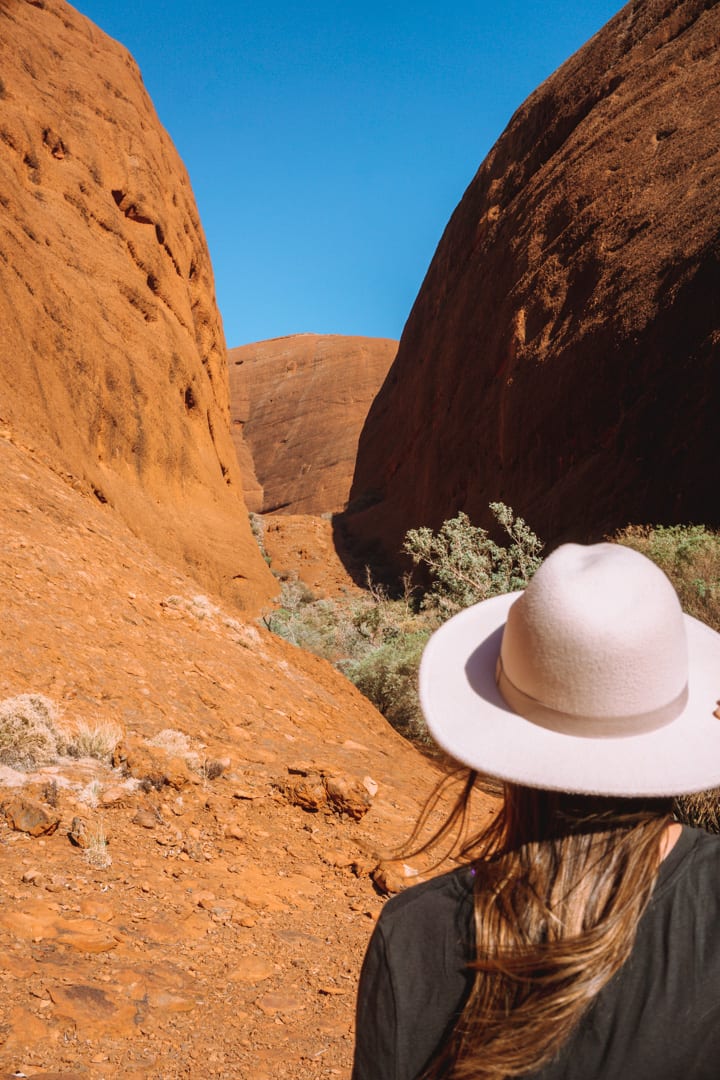
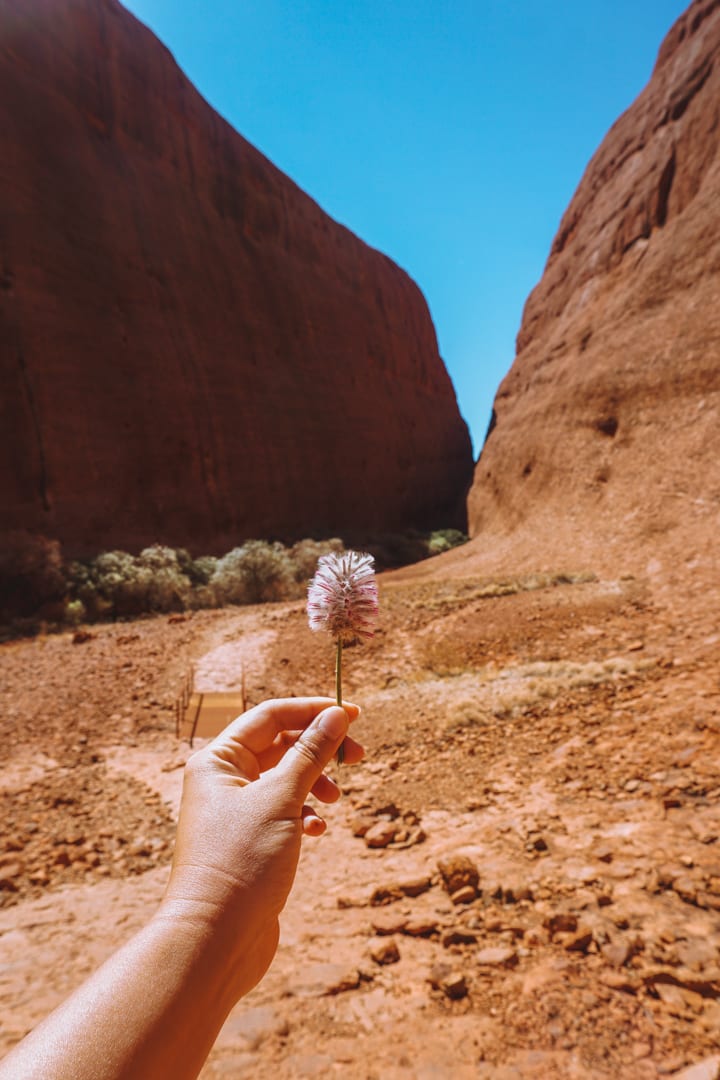
After we drove to the ‘Valley of the Winds’ parking lot to start our hike through Kata Tjuta. This hike is 7.4 KMs, which took us about 2.5 hours. Compared to the Uluru base walk, this hike was a bit more challenging as there were steep steps up and down. Also, as the name suggests, the top of the valley is super windy, so hold onto your hats when you read the top!
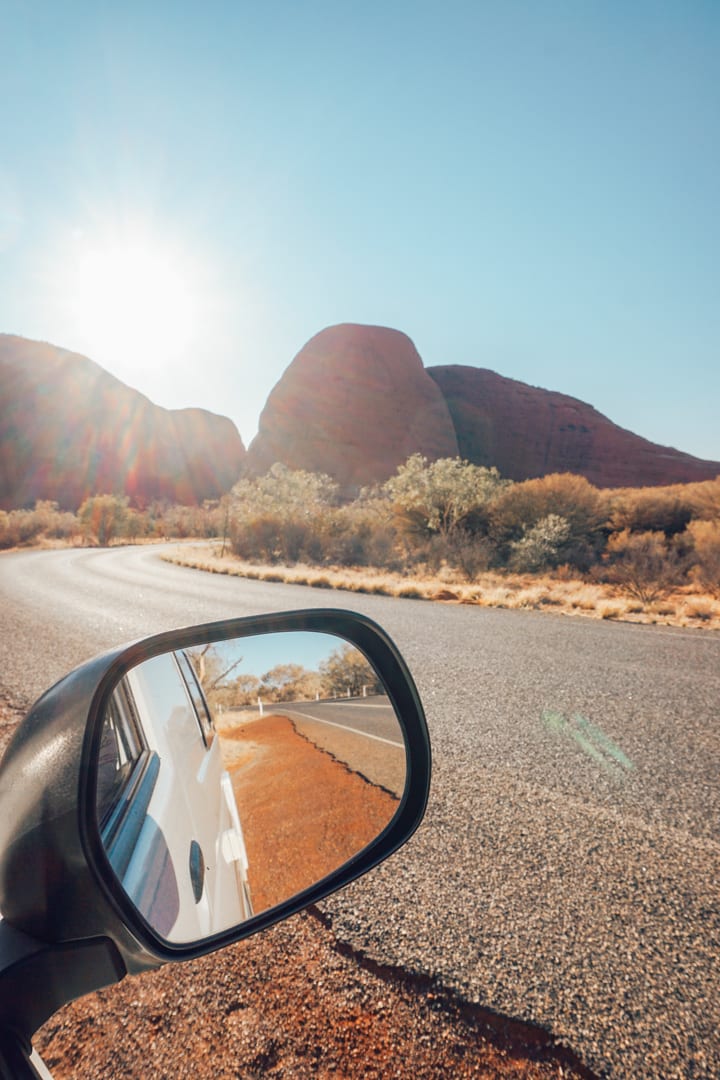
Following the Valley of Winds hike, we stopped at the Walpa Gorge parking lot. This lookout is an easy 20 minutes walk (return) and gives you another perspective and opportunity to take photos of Kata Tjuta.
Get Cultured at the Uluru Cultural Centre
Use the afternoon to educate yourself on aboriginal culture. You can do this at the Uluru-Kata Tjuta Cultural Centre in the National Park, or attend the free workshops back at the Ayres Rock Resort. We heard the Didgeridoo and Bush Food Workshops were amazing, and they’re all free and put on through the resort!
Field of Light Experience
For our last night at Uluru, we treated ourselves to a special date night at the Field of Light. The Field of Light is an art installation that showcases over 50,000 hand-blown lights, that change colour over an area that spans the size of seven football fields. Witnessing all those lights under the stary sky is otherworldly.
We paid $44 per person for the basic Field of Light entrance fee. This includes pick-up from the resort after dusk, and brings you to the art installation for an hour, and drives you back. I really enjoyed our experience and recommend it, but I do wish we paid a bit more for the sunset experience. This allows you to come to the area before sunset, so you can see Uluru as the backdrop to the Field of Lights, as daylight fades. Plus, you get to enjoy unlimited champagne & a few canapes during sunset.
We loved the Field of Light, but because we arrived after dark, we couldn’t see Uluru at all, and wish we came earlier when there was a bit of lingering light. Alternatively, it would also be great to visit the Field of Light at sunrise with coffee and biscuits included.

Sounds of Silence Dinner & Field of Light
Another unique experience is the Sound of Silence Dinner ($229 per person), where you eat dinner under the stars in silence and enjoy a three-course dinner. After dinner, you can visit the Field of Light. We had friends attend this experience and they said it was one of the best things they did in Uluru. Personally, we didn’t have the budget for it.
Tip: Whatever option you choose, I do recommend booking Field of Light ahead of time. They only have limited spots now due to COVID, and since it’s one of the few things to do in the evening, every night was sold out. We tried to book the first two nights of our stay, but they were completely booked out. Luckily we got tickets for our last evening.
Day 5: Uluru to Kings Canyon
At a Glance:
- One last look at Uluru: we did sunrise at Uluru
- Drive 3.5 Hours to Kings Canyon
- Kings Creek Cattle Station for dinner & campsite
The Day in Detail:
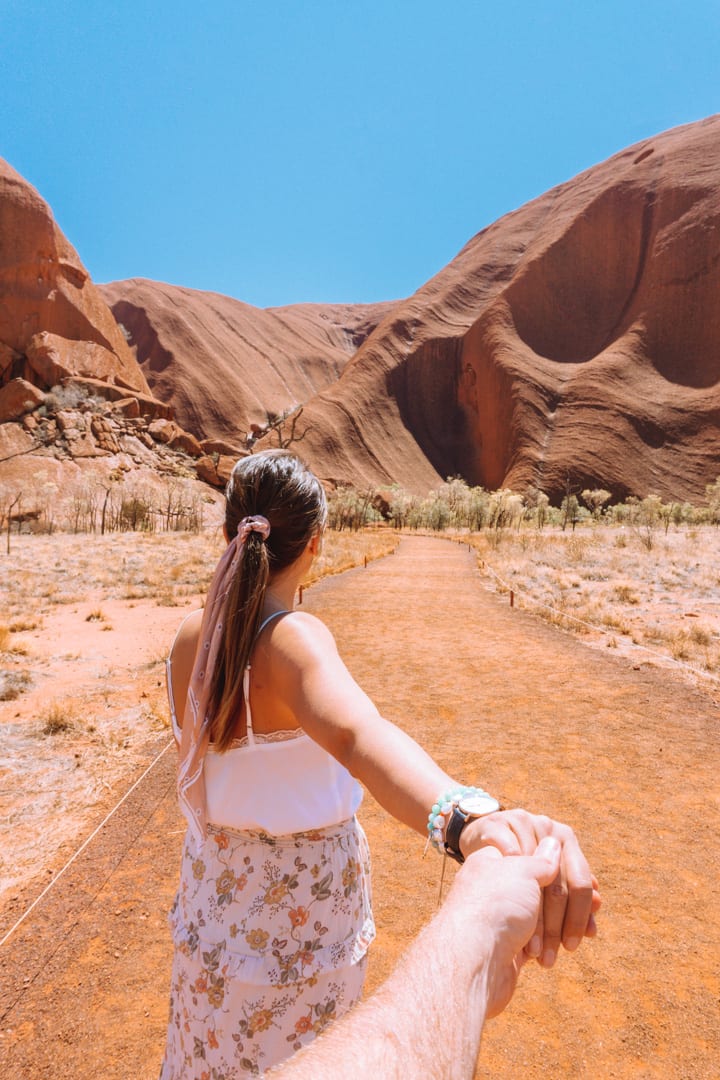
On our last morning, before departing for Kings Canyon, I wanted one last look at Uluru. We drove in for sunrise, took some last-minute photos and drove around Uluru one last time before saying goodbye. I really can’t put into words how special this place is.
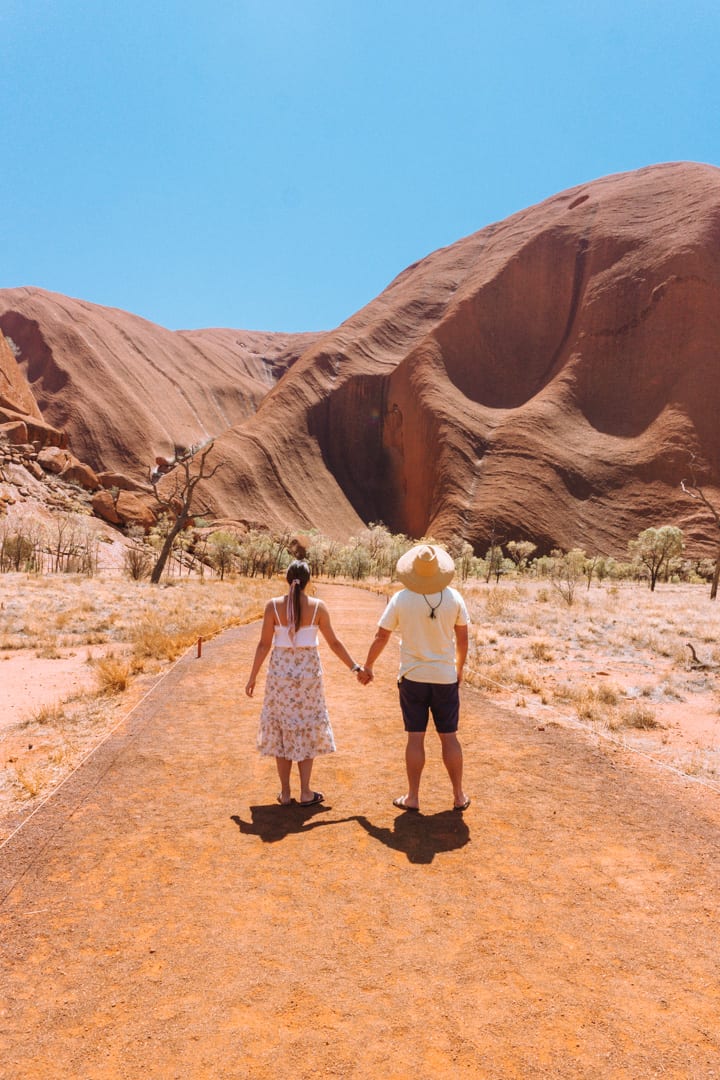
We contemplated doing a sunrise helicopter ride for our last sunrise, but we decided not to do these things in the end, to save money. Now I am kicking myself we didn’t do it! Most likely we won’t go back to Uluru, and so we should have treated ourselves to one of these bigger ticket items. So if you are thinking about these experiences, do it! YOLO.
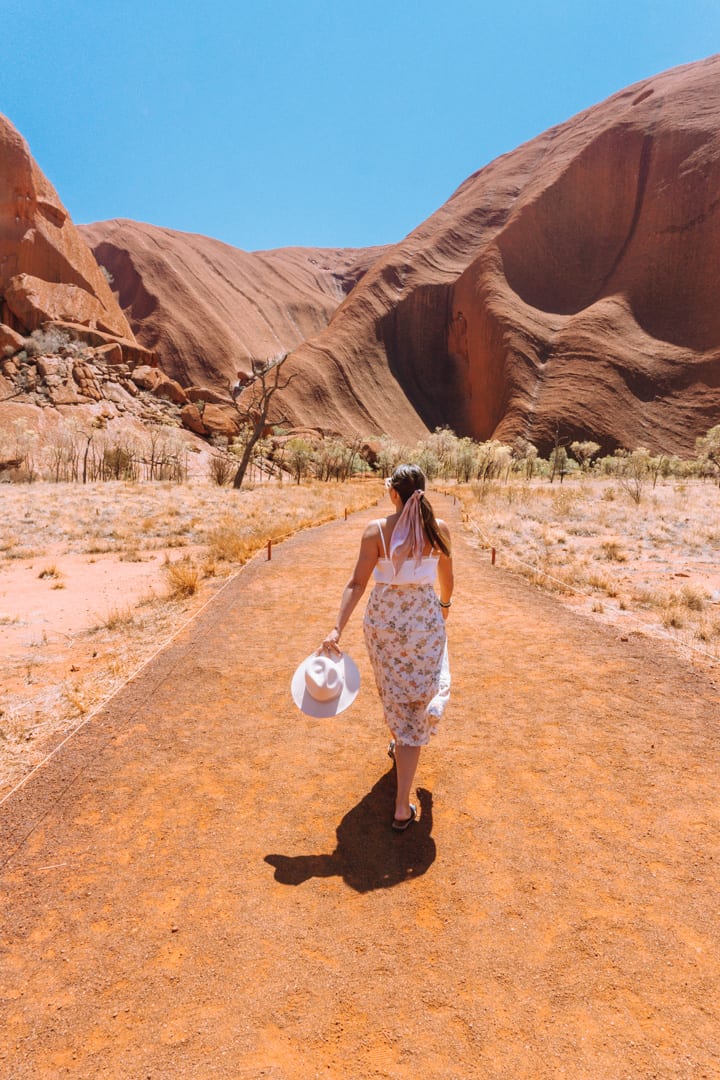
Drive from Uluru to Kings Canyon
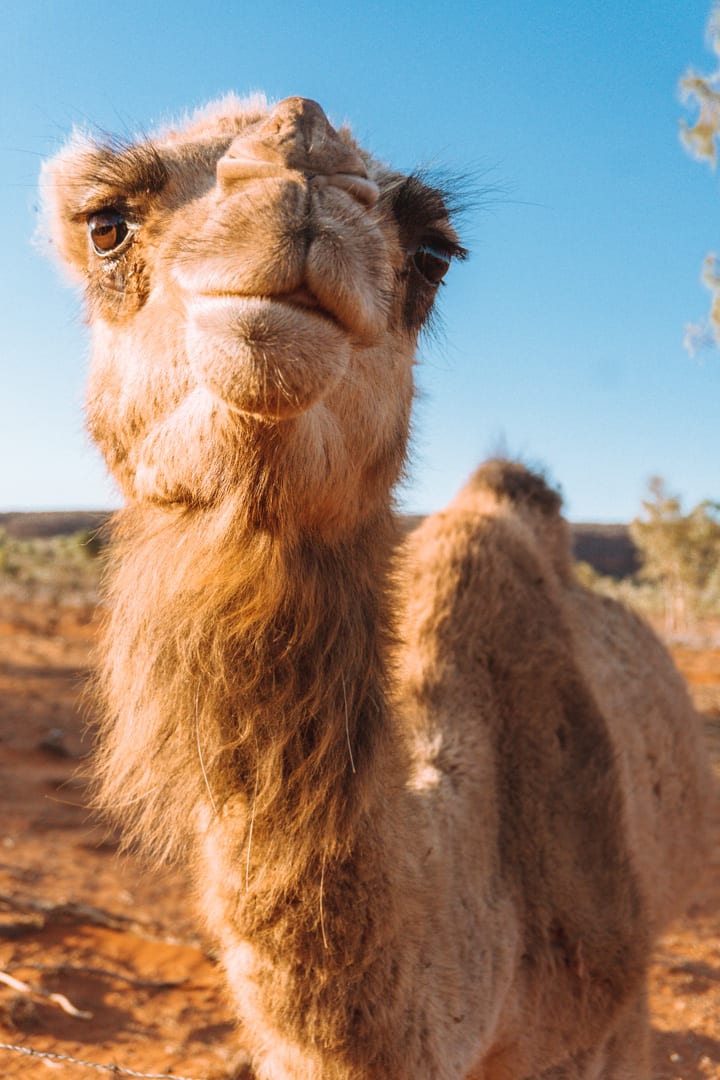
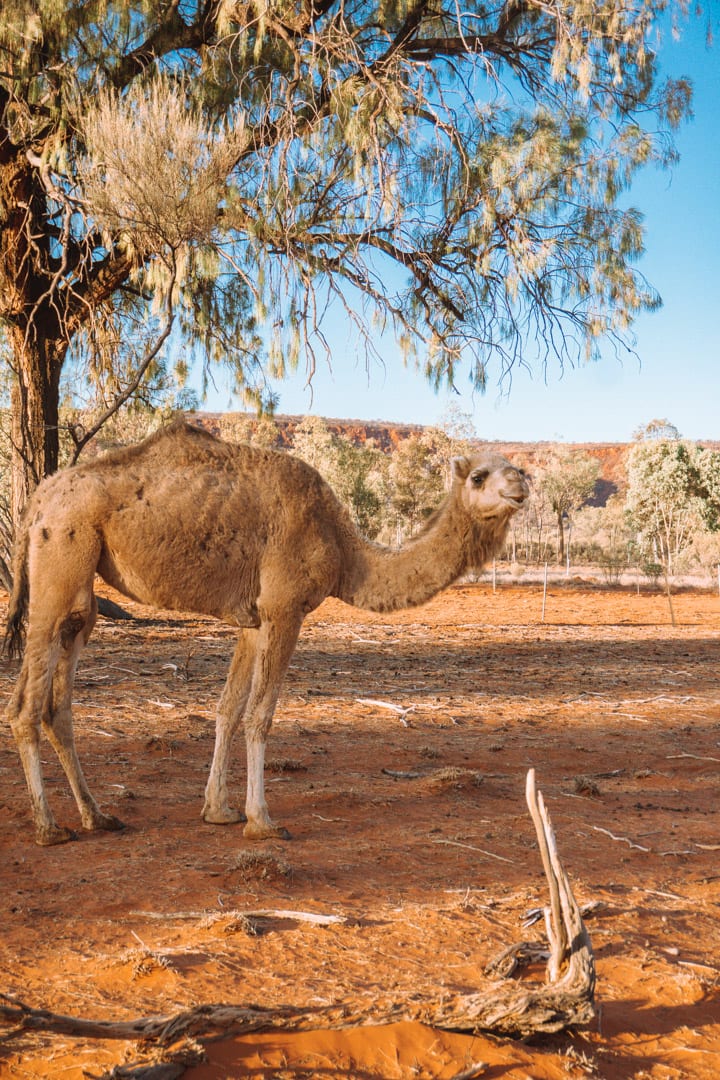
After we drove 3.5 hours from Uluru to Kings Canyon. We arrived very sweaty and exhausted from the heat, so we decided to chill out and relax at Kings Creek Station, our campsite for the night. When we checked in we met the friendly manager, Julie, who is so bubbly and sweet. She made us feel right at home! After we noticed some wild camels on the property, behind a fence, so we went over and said hello.
Camel Warning: We didn’t have any incidents with them, but apparently in the past, they have hit or bitten guests. So be careful and don’t get too close.
Kings Creek Station in Kings Canyon
That evening we ordered dinner and drinks from their onsite kitchen and quickly made some friends with another travelling couple. It was so nice to trade travel stories and hear about other people’s adventures in the area!
Following dinner, we headed back to our campsite, built a campfire and enjoy a glass of wine under the stars. That night we snuggled up in our campervan and fell asleep to the sound of dingos howling in the distance.
Stay at Kings Creek Station
Camping at Kings Creek Station cost us $28 per adult or $56 total. This includes firewood, camp kitchen, electricity, hot showers and toilets. There are also laundry facilities and a cafe on-site that is licensed to serve alcohol. If you want to treat yourself, check out their luxury glamping tents which include all your meals and alcohol package.
Day 6: Kings Canyon to West Macdonnell Ranges
At a Glance:
- Kings Canyon Sunrise hike (2.5 -3 hours)
- Gosses Bluff Crater (We missed this, but heard it’s incredible)
- Drive to West Macdonnell Ranges (4WD is 3 hours, 2WD is 4.5 hours, through Alice Springs).
- Ellery Creek Big Hole for sunset, picnic & a swim
The Day in Detail:
Kings Canyon Rim Walk
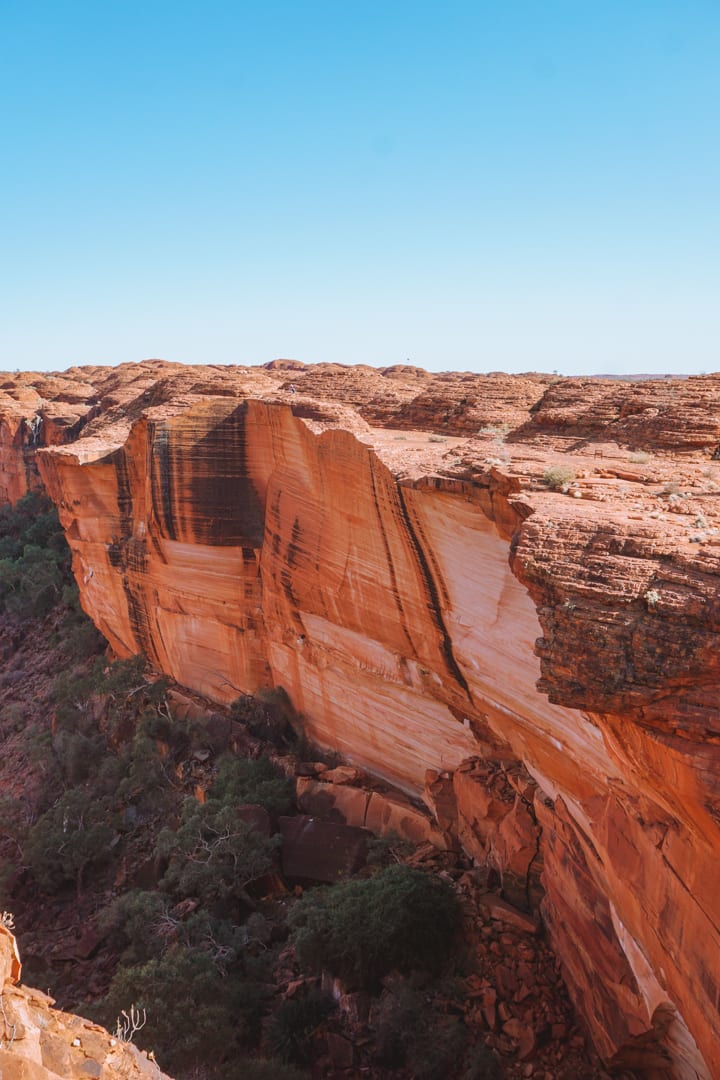
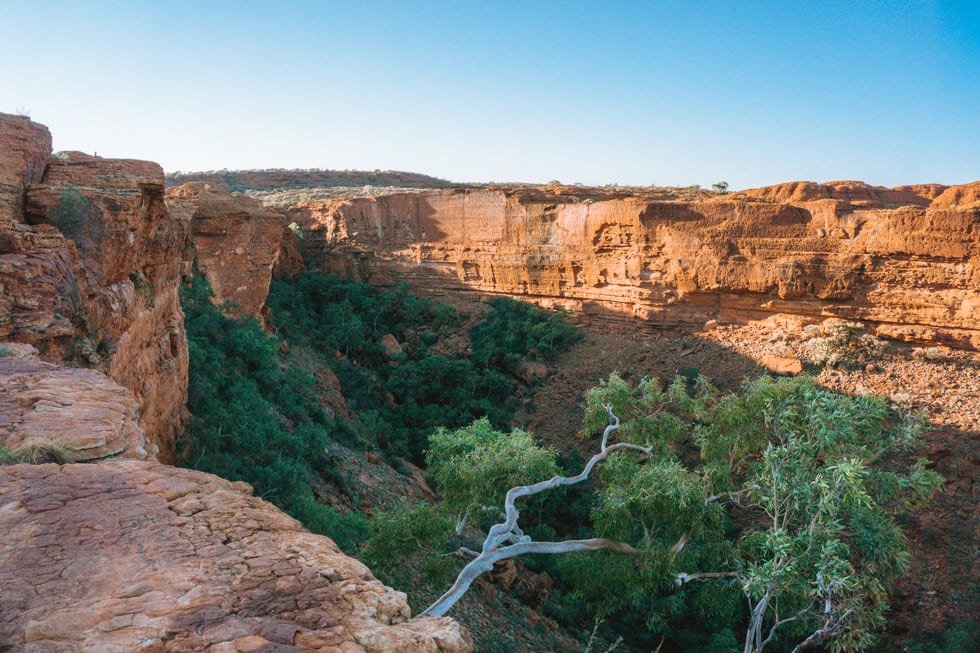
This was another early start for us. Everyone recommended we get to Kings Canyon at first light, so we could see the canyon light up while standing at the top. To do this, we woke up around 4:45 am, drove 30 minutes to Kings Canyon parking lot, and started the 6 KM rim walk.
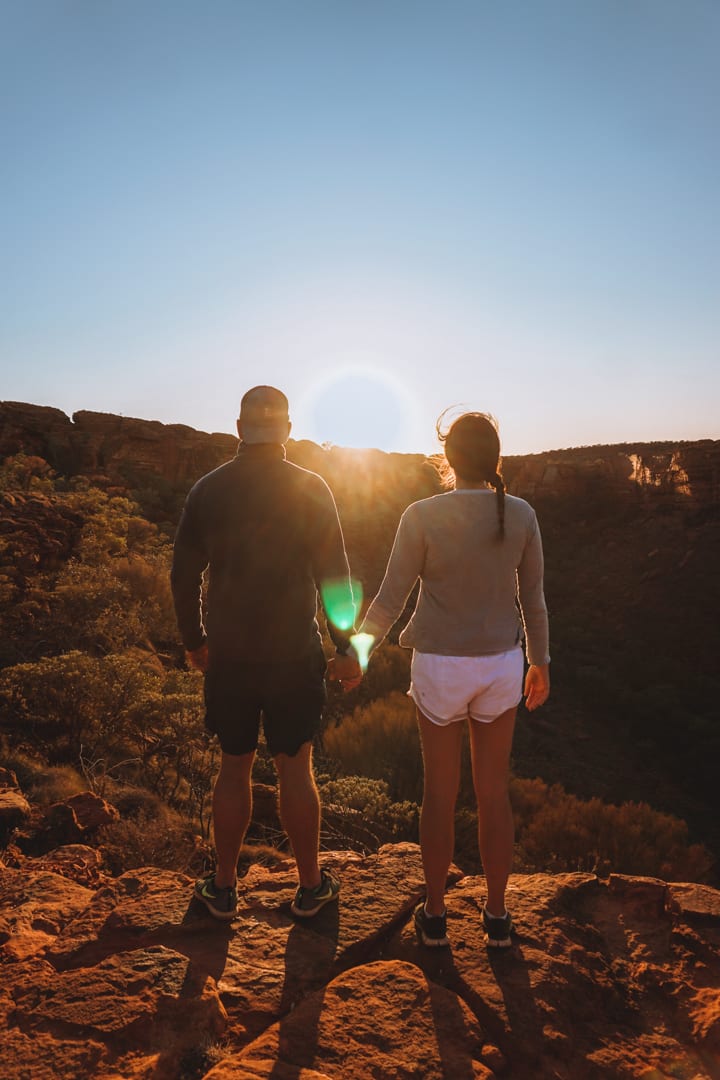
In the end, it took us about 3 hours, including taking breaks and snapping lots of pictures. Now I have to warn you, that the beginning of this hike is the toughest part. It’s a steep incline of 500 stairs, that takes about 15 minutes to climb if you are fit. If you have trouble with stairs, take lots of breaks! After this, the hike was fairly easy, and the views were incredible.
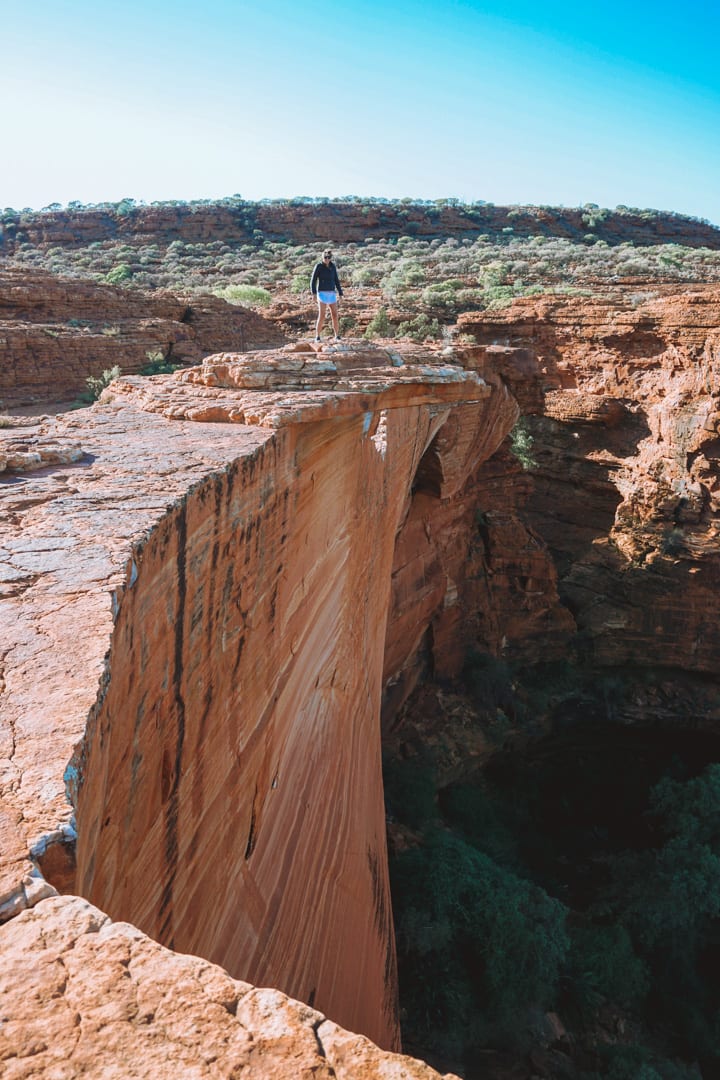
This may go without saying, but be careful near the edge, especially when it’s windy. I can’t believe how big of a drop it was, and there were no safety railings anywhere. I practically had a heart attack anytime Ben would go near the edge and I was such a wimp when taking the photos below.
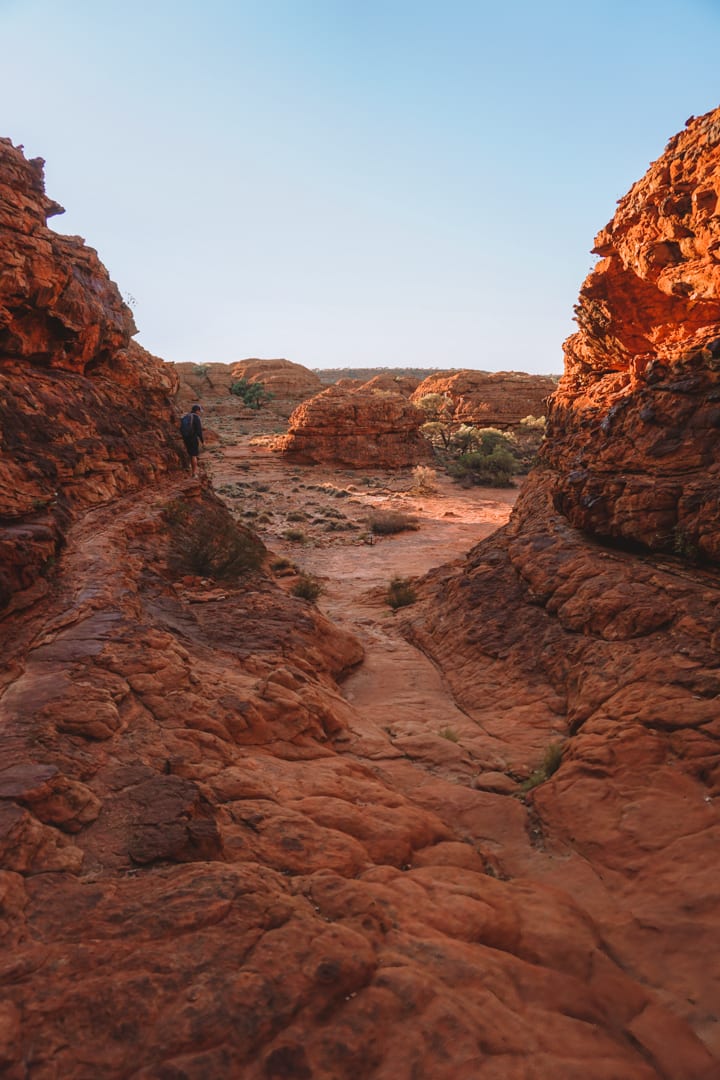
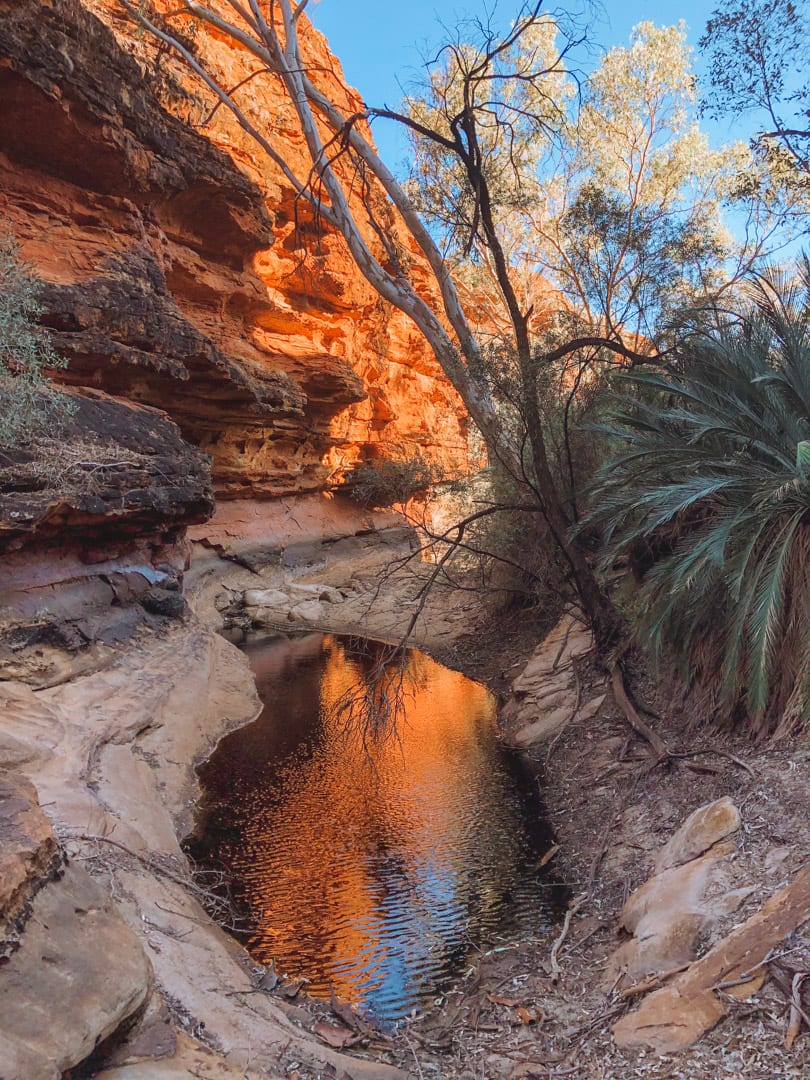
As for the Kings Canyon rim walk, I loved reading all the information plaques about the area and how this was geologically formed throughout the years. We had a snack break down near the waterhole in the Garden of Eden, and it was so peaceful.
Drive to West Macdonnell Ranges from Kings Canyon
Now, this was the one time we really wished we rented a four-wheel-drive vehicle. The Mereenie Loop, the road between Kings Canyon and West Macdonnell Ranges, is unpaved, corrugated dirt, which is dangerous for 2WD. This road only takes 2 and a half hours to drive with a four-wheel-drive. However, if you drive it with a two-wheel-drive car, you risk getting stuck, and most rental companies won’t insure you for unpaved road accidents.
So for those with two-wheel-drive vehicles, the best way to get to the West Macdonnell Ranges is to drive all the way back to Alice Springs, and then an hour out to West Macdonnell Ranges. The only benefit to this longer route is you can stop in Alice Springs for some more groceries or alcohol. We found no bars, restaurants or cafes in West Macdonnell Ranges (that were open during COVID), so pack everything you need.
Sunset at Ellery Creek Big Hole
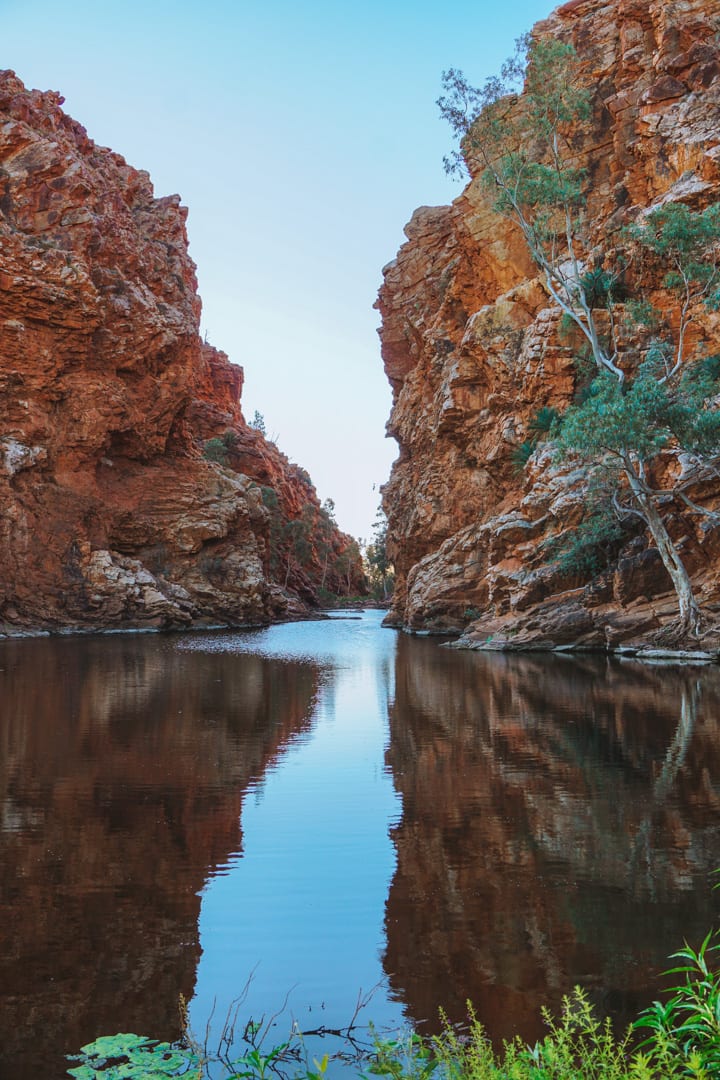
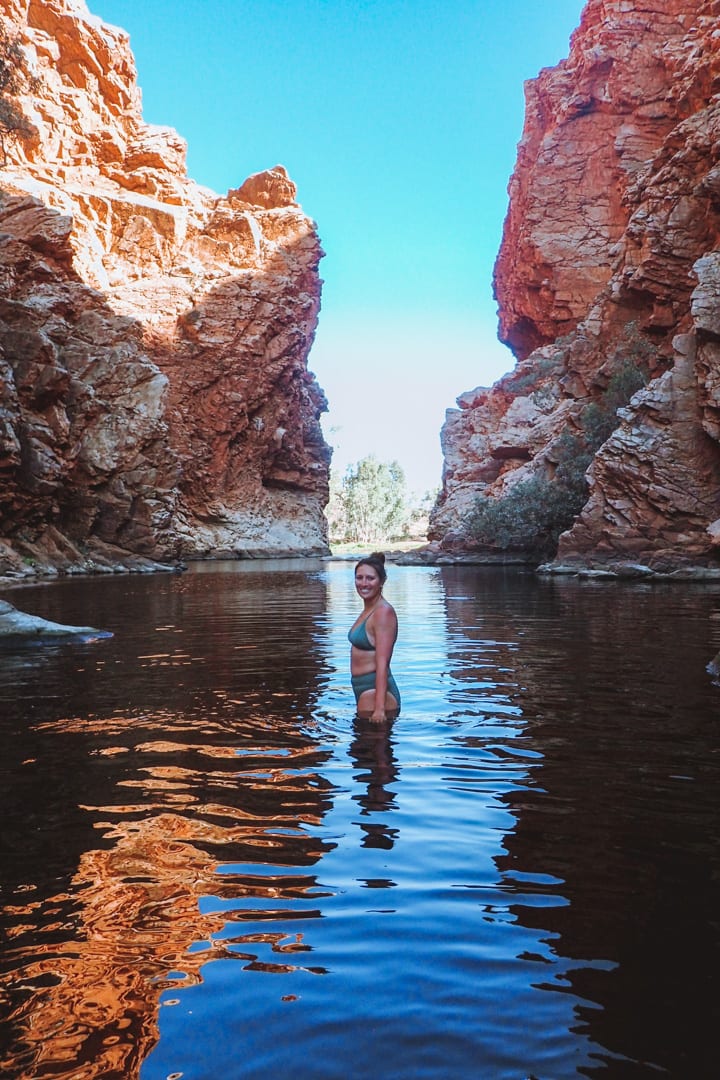
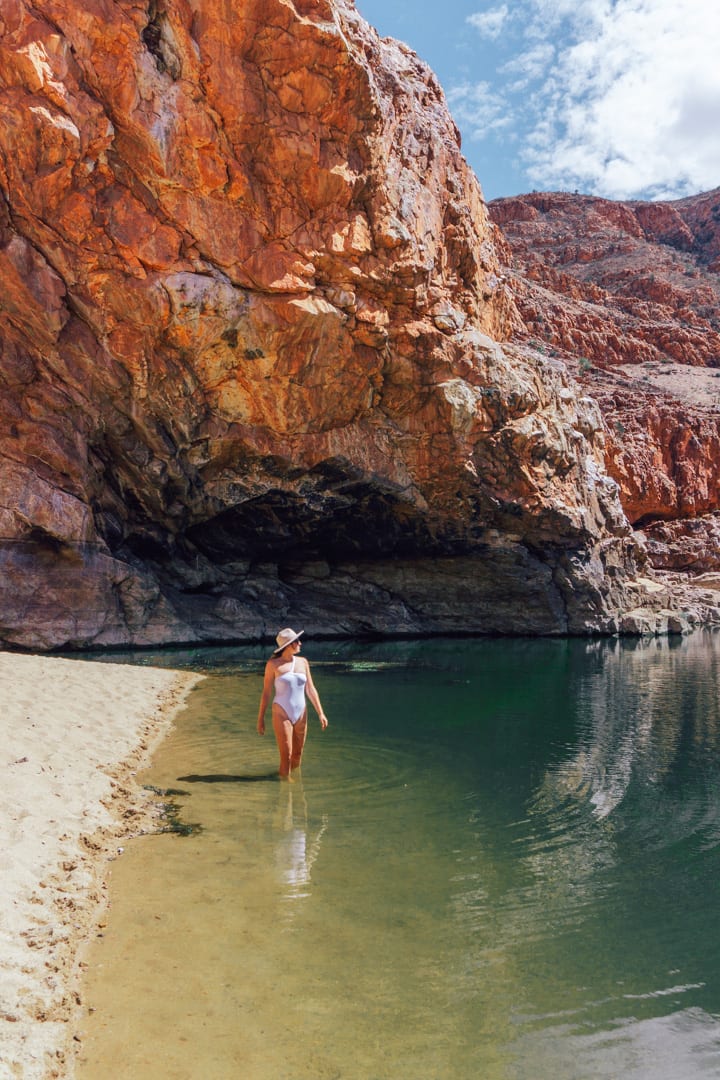
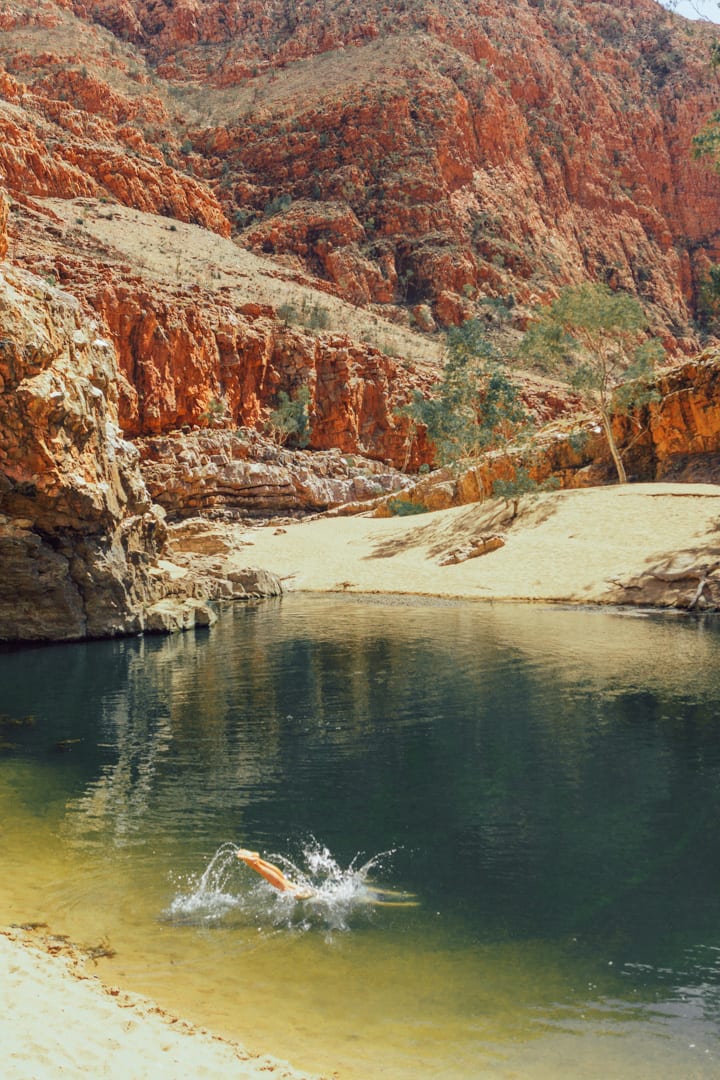
By the time we reached Ellery Creek Big Hole, it was almost sunset. We parked at the campsite, changed into our bathers, and grabbed some cool bevies, snacks and our picnic blanket. Then we walked down the short 2-minute path to Ellery Creek Big Hole. This is such a beautiful spot and the place that has the most water for swimming these days!
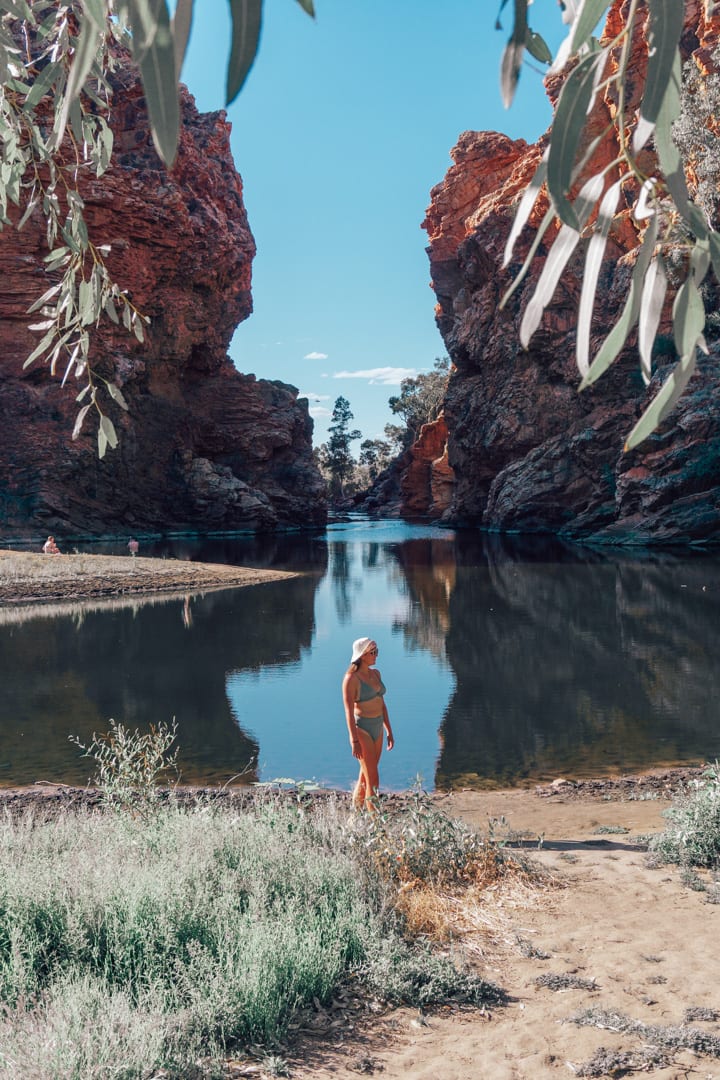
We both drove straight into the freshwater after a long and hot day of driving. The water was so cool and clean, that we decided to swim all the way back through the gorge. After we came out we saw a few people sitting on the sandy beach, so we went over, introduced ourselves. The funny thing about the Alice Springs to Uluru road trip is that you will most likely see some of the same faces along the way since a lot of people do a similar route. This makes it fun and easy to make new friends!
Stay at Ellery Creek Big Hole Campsite
Ellery Creek Big Hole Campsite is a Nation Park campsite, and will only set you back $6.60 per person. Pay via the envelope honour system. The things we loved about Ellery Creek Big Hole Campsite is that you’re allowed campfires in the winter & spring months (but double-check signs when you are there). Plus it felt more spread out compared to some of the other campsites. They also have free BBQs, picnic tables, toilets and showers. Keep in mind, there are no powered sites here.
Day 7: West Macdonnell Ranges
At a Glance:
- Standley Chasm (Best to visit between 11:30 am-12:30 pm )
- Redback Gorge (Best to visit between 12 pm- 3 pm)
- Ormiston Gorge (Great to visit any time of the day)
Sleep: Ormiston Gorge $6.70 per person ( Showers, toilets, BBQs. Pay by an envelope.)
The Day in Detail:
Standley Chasm
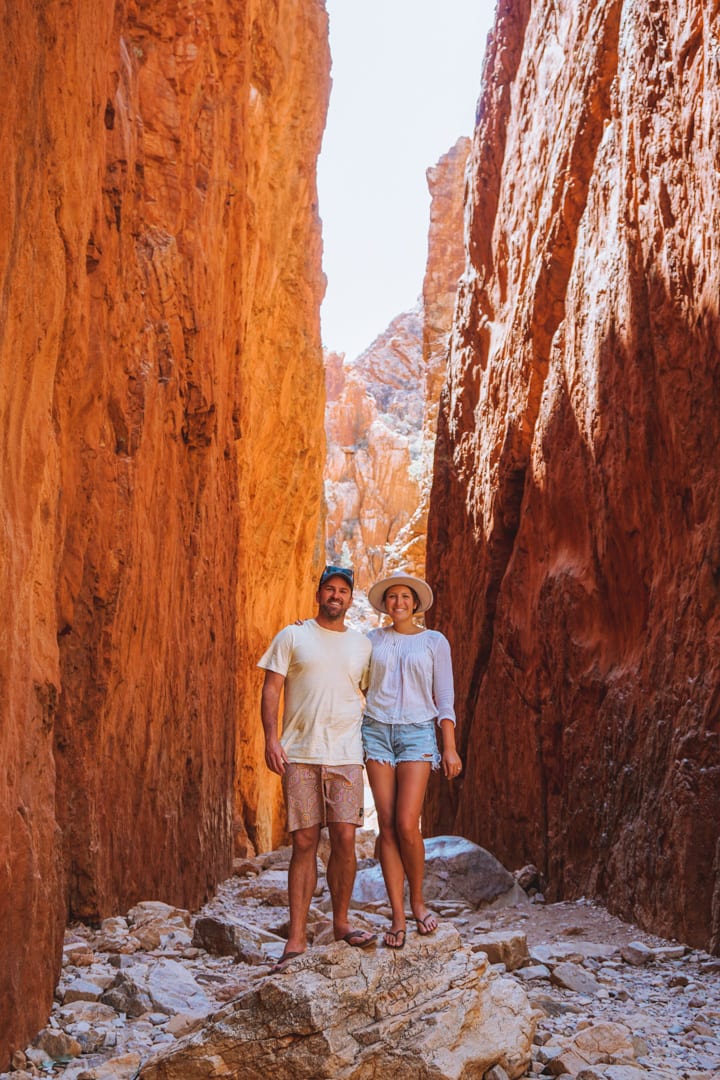
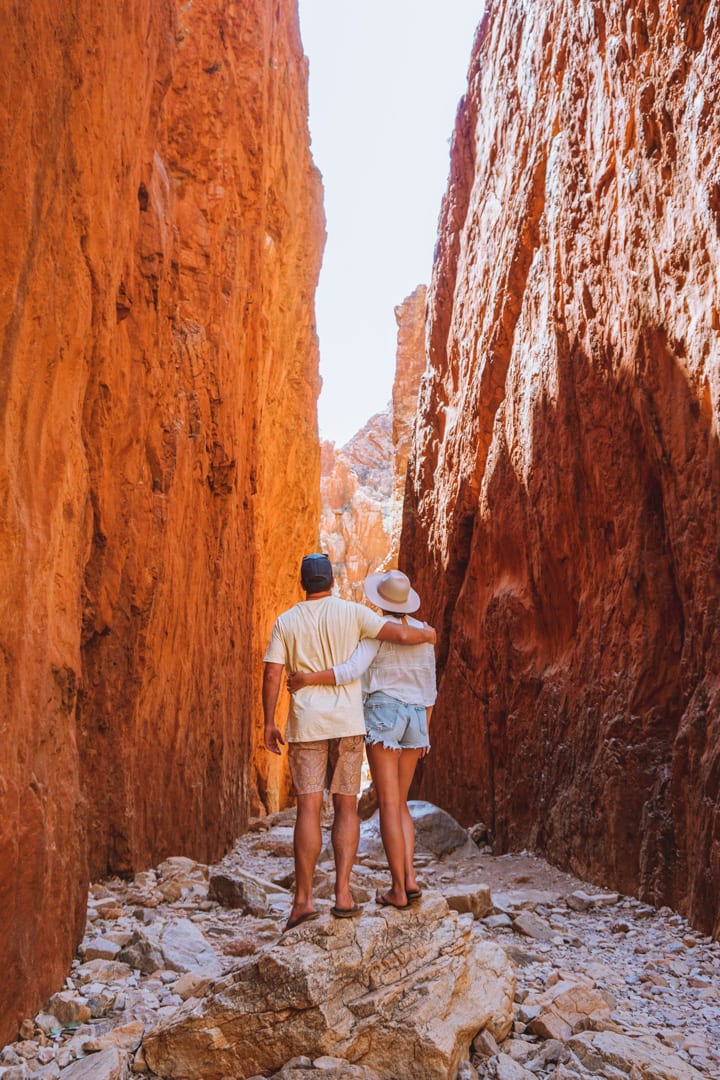
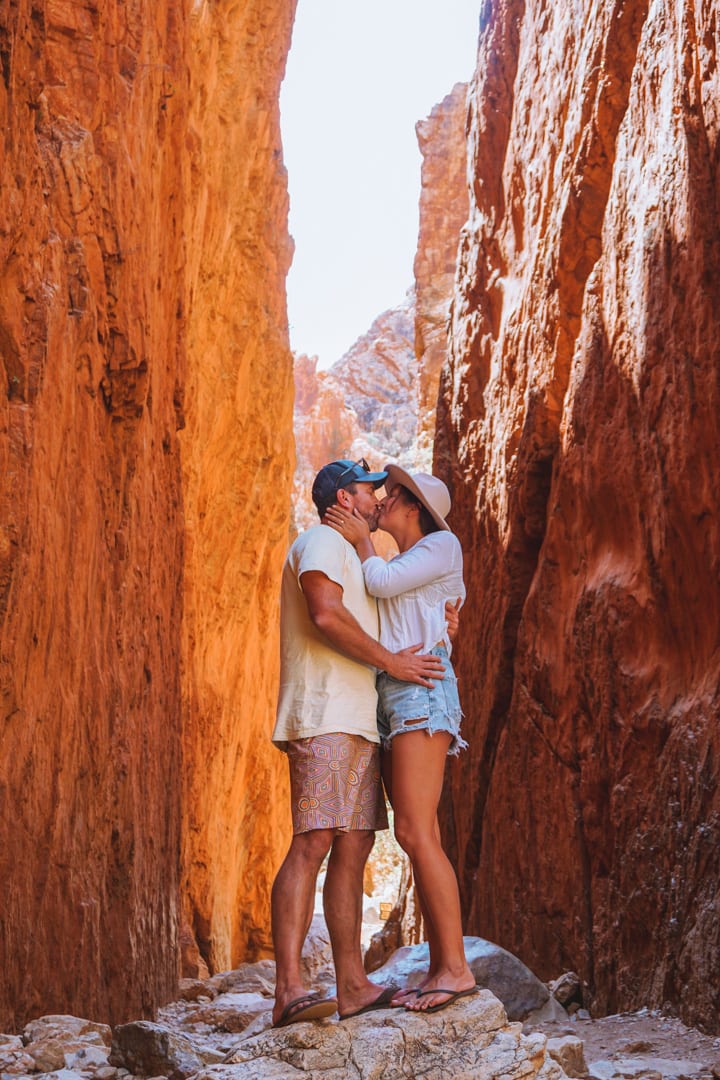
With one full day in the West Macdonnell Ranges, we wanted to fit in as much as we could, while not feeling rushed. So after breakfast, we circled back towards Alice Springs to Standley Chasm. Standley Chasm is best to visit just before noon when the sun is directly above the narrow gorge, and it drenches the walls in shades of Amber. Do note, that there is an entrance fee of $12 per person to visit. This is aboriginal land, and they use the money to upkeep the area.
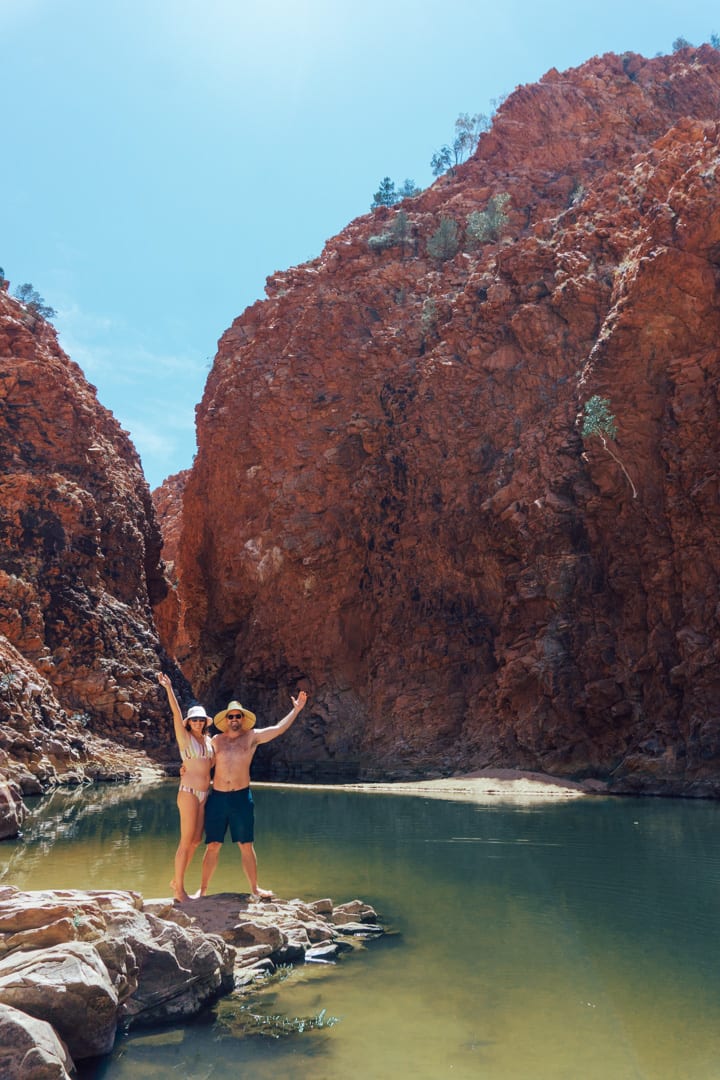
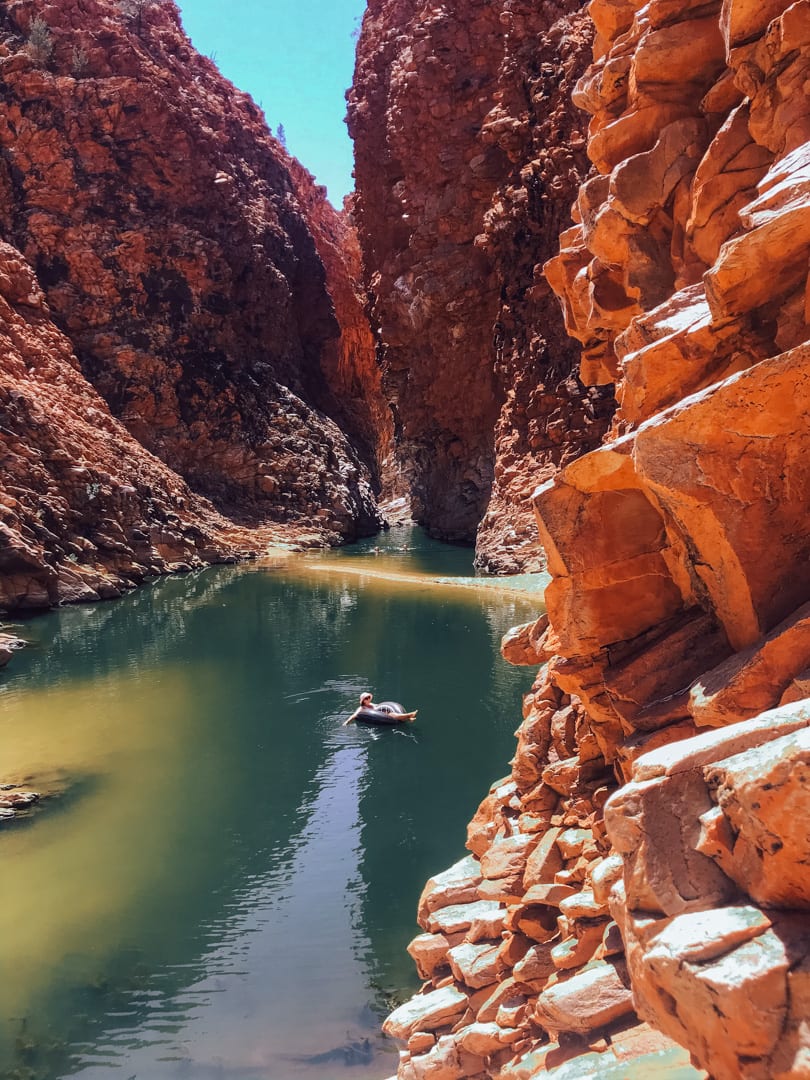
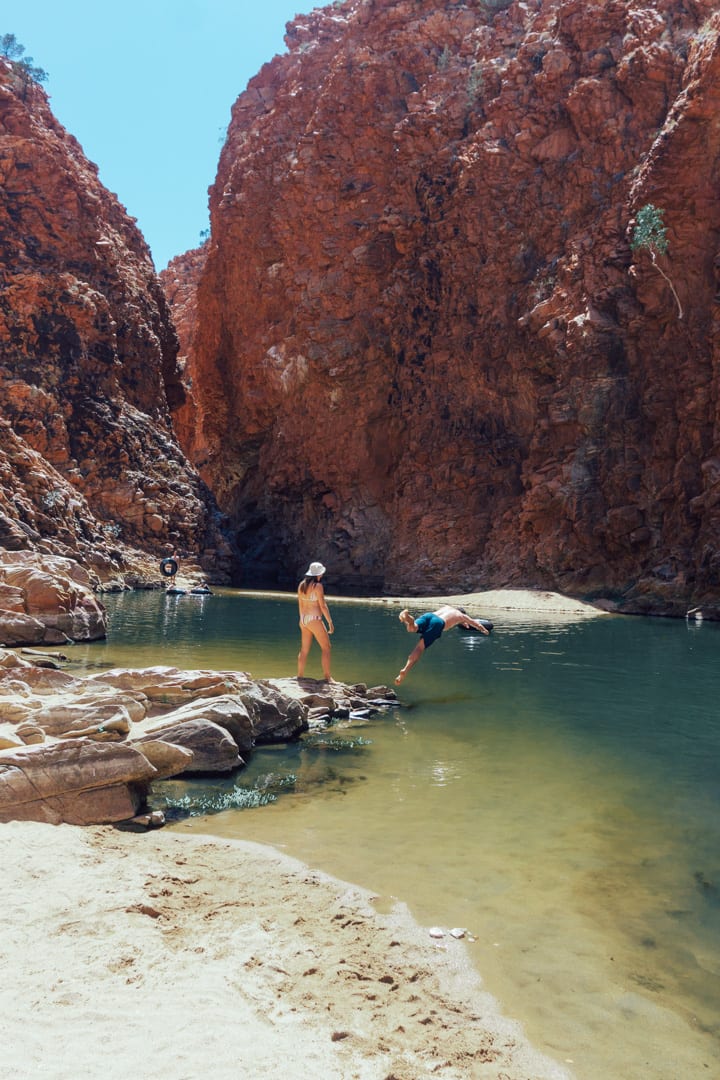
Redbank Gorge
Following Standley Chasm we drove an hour and a half to Redbank Gorge. From the parking lot, it’s an easy 15-20 minute hike into the watering hole.
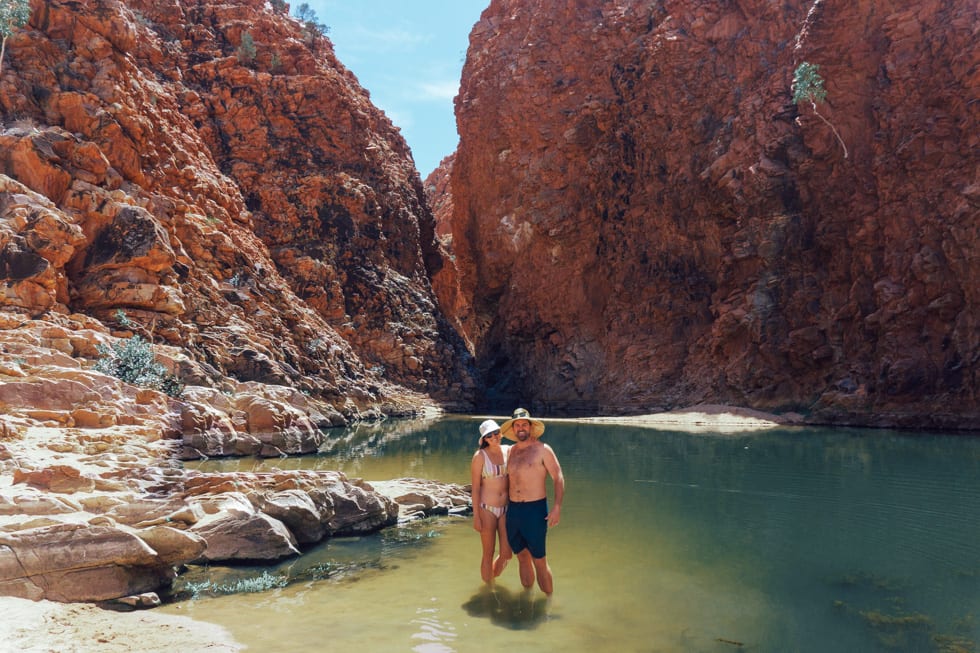
Take a refreshing dip in the cool waters and be sure to swim through the three long chambers of the gorge! In other words, when you arrive, swim to where the walls narrow. From here you’ll see a narrow waterway which you can swim through. There are some landmasses in between, which we climbed over into the next area. It was incredible, and an experience I’ll never forget! I just wish we brought our underwater camera or GoPro. Guess you’ll just have to go see it for yourself.
Out of all the places we visited in the West Macdonnell Ranges, this spot was our favourite. So be sure not to miss it!
Tip: Similar to Standley Chasm, this location is best visited between 12 pm – 3 pm, when the sun hits above Redbank Gorge. Also, bringing a floating tube and waterproof camera is recommended.
Ormiston Gorge
Our last stop was Ormiston Gorge, which has a sandy beach and a smaller water hole. Ormiston has its own campsite, making it the perfect place to end the day. And since we had nowhere else to drive, we brought a romantic picnic down to ‘the beach’ to enjoy the sunset and another refreshing swim.
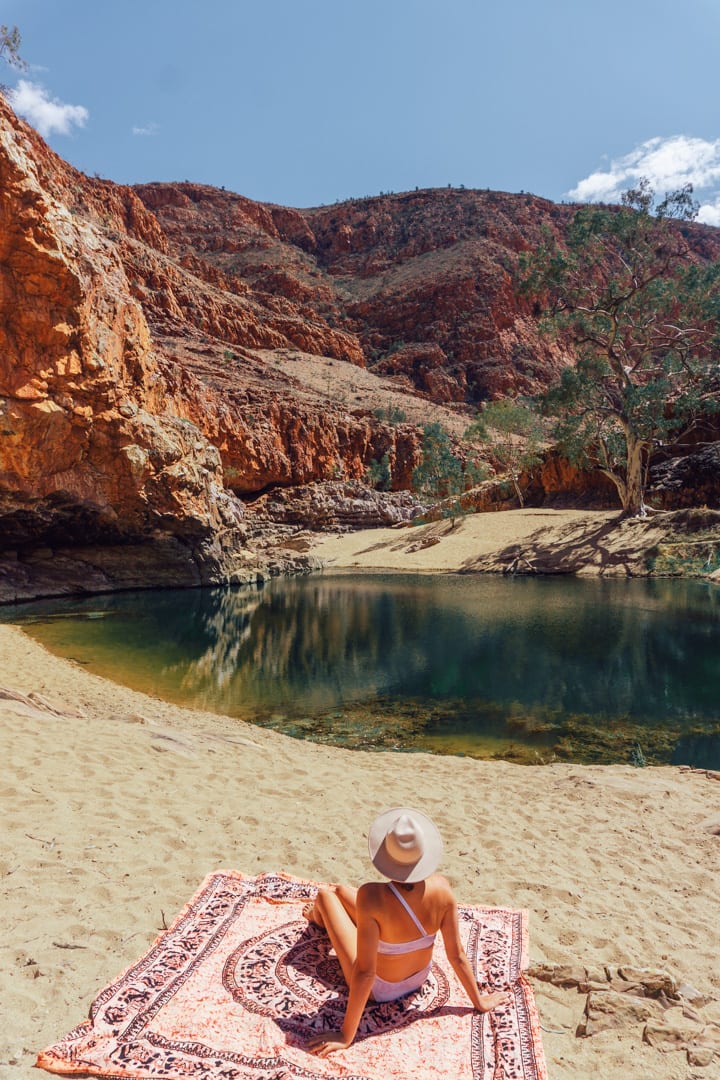
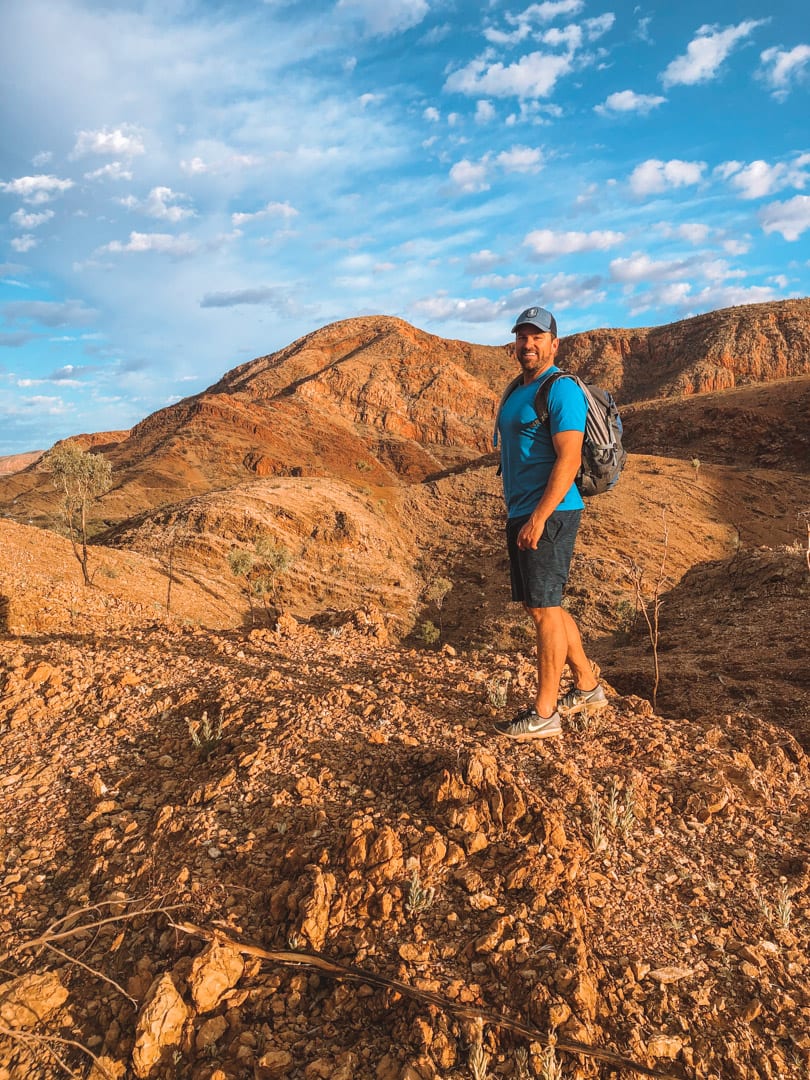
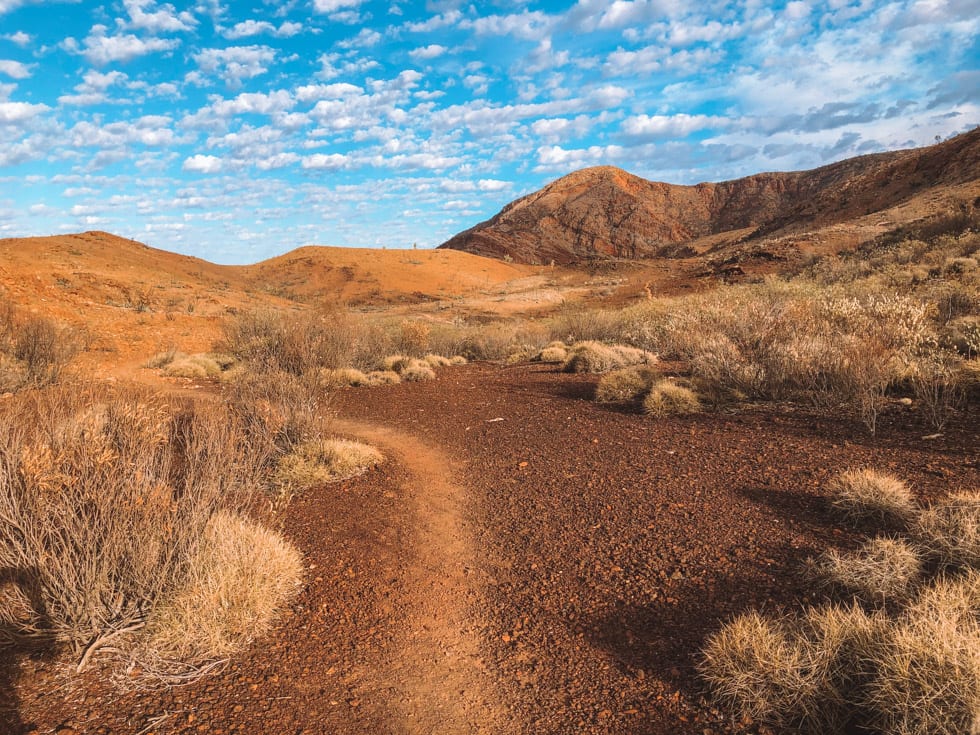
Also, around Ormiston are a variety of trails to explore the area. Some are longer and more challenging than others, so see the trail maps when you arrive at the parking lot. If you have time, I highly recommend doing one, as the views are spectacular around this area.
Day 8: Go Home
Drive back to Alice Springs (1 hour and 30 minutes) and fly home. Or continue your adventure north to the top end!
Blog coming soon: Our itinerary to the Top End, which covers Darwin, Litchfield National Park, Devils Marbles, Bitter Springs and Kakadu National Park.
Alice Springs to Uluru Road Trip: Budget Breakdown for 7 days (All in AUS dollars)
Flights: We aren’t including this in the total because we flew with a staff discount (Ben’s brother is a pilot for Qantas, so we are lucky to get incredible standby discounts).
Campervan: $1,102 for 18 days = Around $430 for 1 week. *Of course, the longer you rent it, the more of a discount you get.
Campsites for 7 nights: $190
Groceries and camping supplies: $210
Alcohol bought in Alice Springs: $200
Dining out: $150 *Not a dining out destination, so we saved a lot here. Although, there are nice restaurants at Ayres Rock Resort if you want to treat yourself.
Experiences: Field of Lights + Standley Chasm = $110 * The best part about this Northern Territory road trip is almost all of your experiences are free!
Gas + Taxi to pick up campervan: $250
Total cost for two people: $1540
Total cost per person: $770
Travelling Solo in Alice Springs to Uluru, Northern Territory Road Trip
As you can see by the breakdown above, this Alice Springs to Uluru road trip can be easily done on a budget. But if you are travelling solo then the cost is still going to be relatively high. My guess is this same trip would cost you around $1,300 on your own, so I would recommend a group tour, as it will save you money and time having to plan your trip by yourself!
One Day Tour to Uluru from Alice Springs
If you are really short on time and want to see Uluru, hop on this one day tour that includes return transfers from Alice Springs.
During this one day tour, you’ll begin by immersing yourself in the local culture at Uluru’s cultural centre and embark on a guided walk to witness ancient rock art while learning about the Pitjantjatjara people. Explore the magnificent domes of Uluru-Kata Tjuta National Park and visit Mutitjulu Waterhole to hear captivating “dreamtime” stories and encounter the ancestral Wanampi water snake. As the sun sets, raise a glass of sparkling wine, indulge in a delicious barbeque dinner, and savour the unforgettable view of Uluru before returning to Alice Springs.
Multi-Day Tours Around Central Australia
Here is a great tour from Alice Springs to Uluru. It is 4 days, but includes the transfers from Alice Springs to Uluru. The cost might look high at first, but when you consider all the costs like the hotel, car rental, insurance and gas, this price is actually really good. And it’s so stress-free when someone else is organizing all the details.
Alice Springs to Uluru Road Trip: What I Wish We Did Differently
- Hire a 4WD Campervan: We loved our 2WD high-top Apollo Van, but there were times that we had four-wheel drive (4WD). In the outback, you have more options and there are some roads that require you have a 4WD. For example, the Mereenie Loop is a corrugated road between West Macdonnell Ranges and Kings Canyon. Taking this road could save you up to 5 hours of driving. If you can’t take this road, you have to drive all the way back to Alice Springs (4 hours), and then an hour out to West Macdonnell Ranges. Other than this one road, we didn’t have an issue with our 2WD, and we actually were amazed at how good the roads were in Northern Territory.
- Spend more time at Kings Canyon: One place that felt a bit rushed on our trip was Kings Canyon. If your time isn’t limited, I would recommend spending another night so you can see the area in-depth and visit Gosses Bluff Crater.
- Change itinerary direction: If we were to do this trip again and with a 4WD campervan, I would have done this trip in the following order. Alice Springs, West MacDonnell Ranges, Kings Canyon, Uluru, Alice Springs.
- Save the best for last, and do Uluru at the end of your week-long road trip. Uluru was the highlight of the trip, and the area we were most excited to experience. Looking back, it would have been better to build up to it and save it for last.
- Splurged on more unique experiences: We contemplated doing a sunrise/sunset helicopter ride, camel rides or the more expensive Field of Light experience, and we decided not to do these things in the end, to save money. Now I am kicking myself we didn’t do it! Most likely we won’t go back to Uluru, and so we should have treated ourselves to one of these bigger ticket items. Learn from our mistake and treat yourself to an experience you’ve been dreaming of.
More Travel Guides for Australia
- Your Weekend Guide to North Stradbroke Island
- A Travel Guide to Sailing the Whitsundays: 5 Day Itinerary
- 24 Hours in Bowen, Queensland
- The Best 3-Day Magnetic Island Travel Guide
If you found this Alice Springs to Uluru road trip useful don’t forget to bookmark it or share it with your friends. Do you still have some questions about your upcoming trip? Ask them below or DM me on Instagram.
Are you on Pinterest? If so, pin this image!
